audi Workshop Repair Guides

Audi Workshop Service and Repair Manuals

Removing and installing tiptronic switches > < Overview
Removing and installing multifunction buttons in 3-spoke steering wheel
Special tools and workshop equipment required
   
t  Removal wedge -3409-
  W00-0016
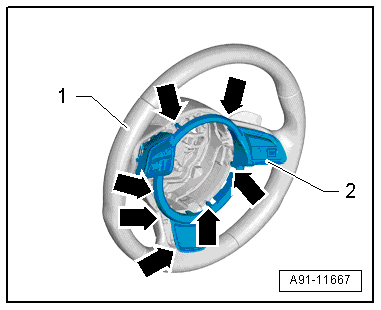
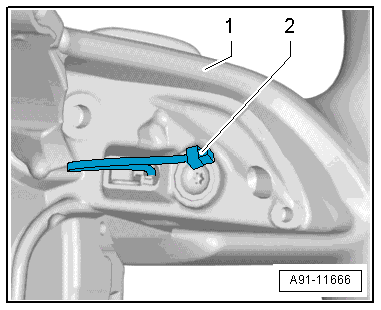
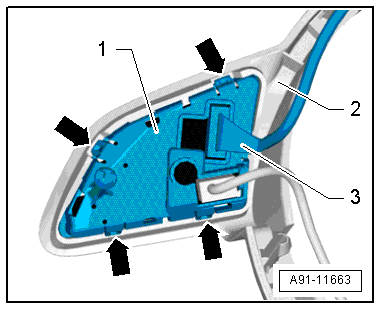
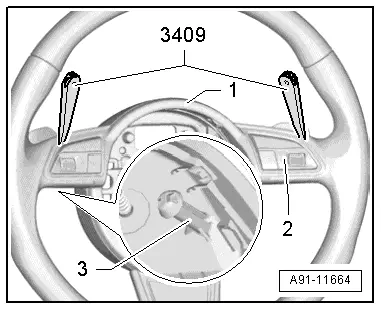
The multifunction buttons -2- are clipped into the trim panel -1-. The trim panel -1- is secured on the steering wheel together with the multifunction buttons -2-. Each multifunction button -2- has an extra retainer -3-.
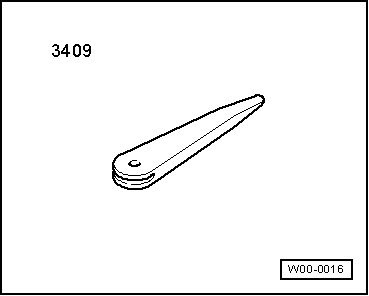
When removing, make sure to loosen trim panel -1- by hand first (approx. 5 mm) and then disengage retainers -3- for multifunction buttons -2- using removal wedge -3409- and finally pull off trim panel -1- together with multifunction buttons -2-.
  A91-11664
Retainers for trim panel
1 - Trim panel
Arrows - retainers
  A91-11669
Retainer for multifunction buttons
1 - Multifunction button
2 - Retainer
–  Switch off ignition and all electrical equipment and remove ignition key.
Removing
–  Remove airbag (driver side) → General body repairs, interior; Rep. gr.69.
–  Take connecting wires out of their guides in steering wheel.
  A91-11668
–  Slightly loosen trim panel -2- together with multifunction buttons -arrows- by hand and pull it off steering wheel -1- (approx. 5 mm).
  A91-11667
–  Use removal wedge -3409- to disengage multifunction buttons -2- in immediate vicinity of retainers -3-. Apply removal wedge -3409- as illustrated.
  A91-11664
–  At the same time, pay attention to connectors leading to tiptronic switches -2-.
–  Unplug this connector -2- at multifunction buttons.
–  Detach trim panel together with multifunction buttons from steering wheel.
The multifunction buttons are clipped into the trim panel.
  A91-11666
–  Unplug connector -3- at multifunction button -1-.
–  Release clips -arrows- and press multifunction button -1- out of trim panel -2-.
The additional wiring on the multifunction button (right-side) remains attached to the multifunction button.
Installing
–  Installation is performed in reverse sequence, paying attention to the following:
–  Position trim panel with multifunction buttons fitted on steering wheel.
  A91-11663
–  Ensure connecting wiring -2- for tiptronic switches is routed as shown in illustration.
–  Route remaining connecting wiring, including connectors, in guides in steering wheel.
  A91-11666
–  Push trim panel -2- together with multifunction buttons onto steering wheel -1- until they engage properly.
–  Then check again that wiring in steering wheel is correctly routed.
Tightening torques → Chapter
  A91-11667

Removing and installing tiptronic switches > < Overview