A2
|
|
|
|
|
|
|
|

|
|
|
|
|
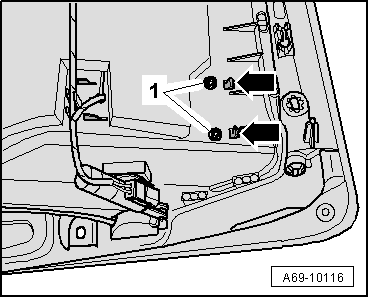
| Component | Nm |
| Mounting to glove box | 2 |

|
|
|
|
|
|
|
|
|
|
|
|
|
| Component | Nm |
| Mounting to glove box | 2 |