Replacement interval for dust and pollen filter: → Booklet
t
The filter element is available in various versions. Only the dust and pollen filter version is currently fitted by Audi. A combined filter version (with integral odour filter) is provided for VW models, for example.
Cover the carpet in the passenger's side footwell, below the dust and pollen filter with paper (in order to catch any dirt which falls out).
–
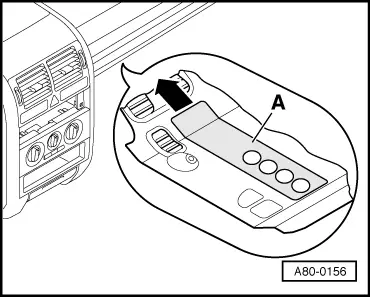
Push the two sliders -A- together to the centre.
–
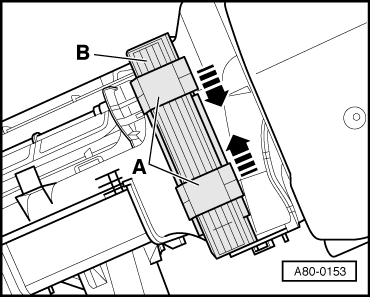
Remove the filter cover -B-.
–
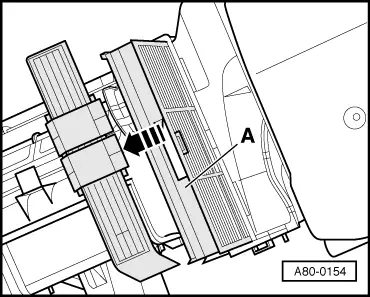
Remove the dust and pollen filter and filter frame -A- from the housing.
–
Separate filter from filter frame.
Note
t
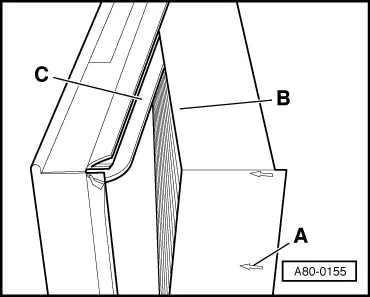
When inserting the filter into the frame, pay attention to throughflow direction “arrow”-A-.
t
Insert the first layer of the filter -B- in the filter frame -C- according to the illustration. It must be ensured that air cannot flow past the filter.
 Note
Note