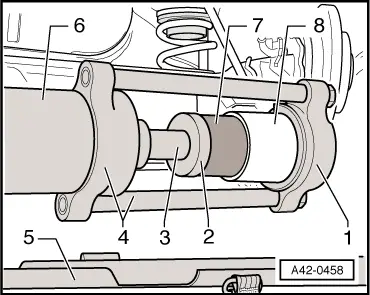
| The illustration shows the set-up for installing the bush on the left side of the rear axle. |
| –
| Now bring bonded rubber bush with special tools into position at rear axle. |
| 1 - | Counterhold -VAS 6180/8- |
| 2 - | Thrust piece (nominal diameter 12 mm) -VAS 6180/7- |
| 3 - | Extension (short) -VAS 6180/6- |
| 4 - | Cylinder attachment with pull rods -VAS 6180/1- |
| 5 - | Engine and gearbox jack -V.A.G 1383 A- |
| 6 - | Hydraulic press -VAS 6178- |

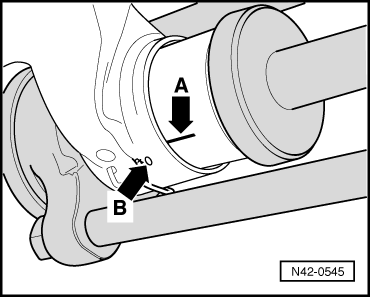
Note! | “Top” marking on counterhold -VAS 6180/8- must face outer left side of vehicle when pressing in left bonded rubber bush, and outer right side of vehicle when pressing in right bush. |
|
|
|