
A3 Mk1
|
|
|
|
|
|
|
|

|
|
|
|
|
|
|
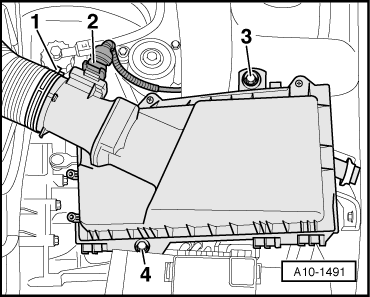
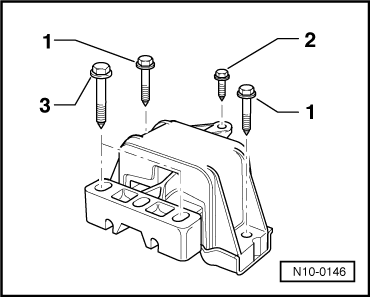
| Bolts -1- | 40 Nm + 90° 1)2) | ||||
| Bolt -2- | 25 Nm | ||||
| |||||
|
 Caution
|
|
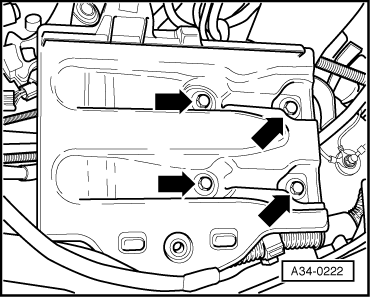
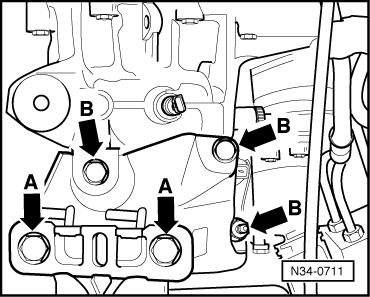
| Bolts -arrows A- | 60 Nm + 90° 1)2) | ||||
| |||||
 Note
Note
Note
|
 WARNING