
A3 Mk1
|
|
|
|
|
|
|
|
|
|
|
|
|
|
|
|
|
|
|
|

|
|
|
|
|
|
|
 Note
Note
|
|
Note
|
|
|
|
|
|
|
|
 Caution
| Component | Nm | |||||
| Front exhaust pipe to turbocharger | 40 | |||||
| Catalytic converter to front exhaust pipe | 23 | |||||
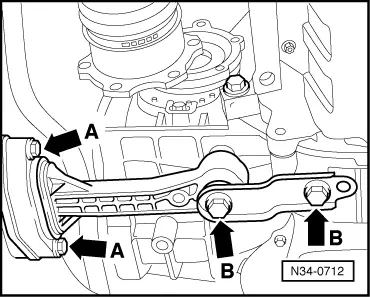
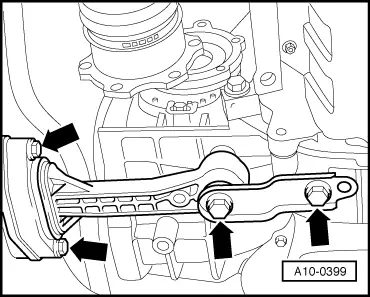
| Pendulum support to: | Gearbox | 40 + 90° 1)2) | ||||
| Subframe | 20 + 90° 1)2) | |||||
| Drive shaft heat shield to bevel box | 25 | |||||
| ||||||