
A3 Mk1
|
Removing and installing cylinder head
Removing and installing upper section of intake manifold - vehicles with engine code APF
|
 |
|
|
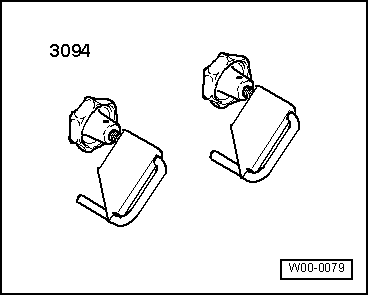
Special tools, workshop equipment, and other items required
=> Parts List |
 |
|
|
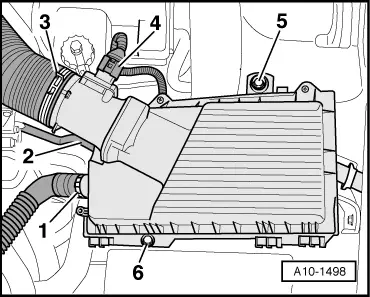
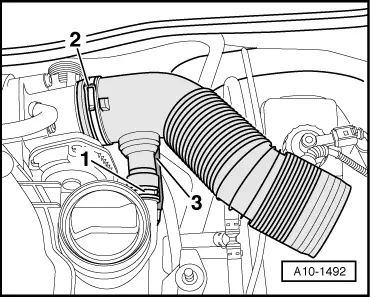
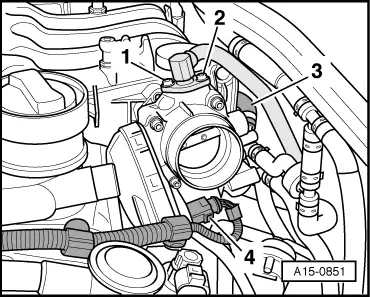
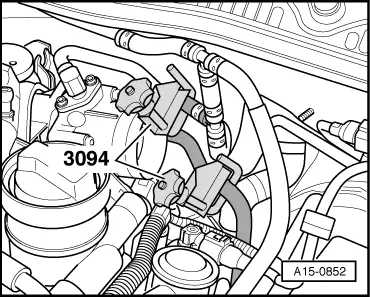
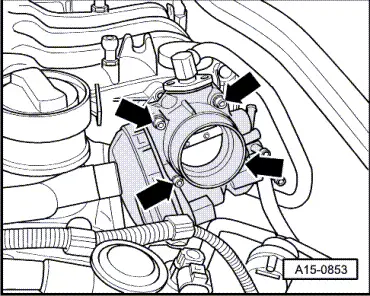
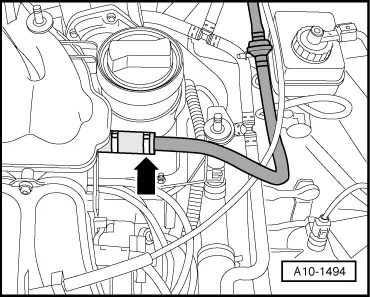
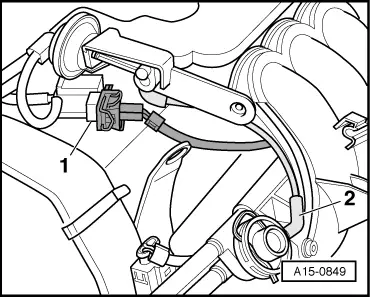
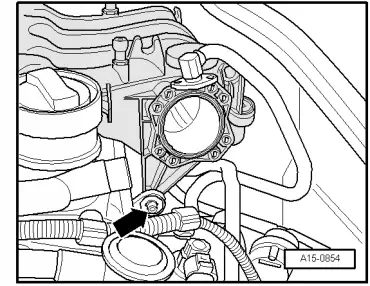
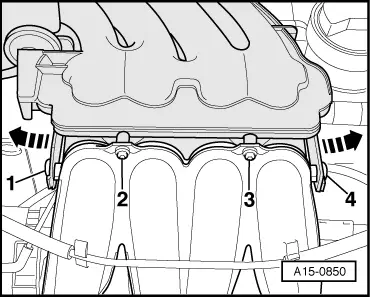
Removing
|
 |
|
|
 |
|
|
 |
|
|
 |
|
|
 |
|
|
 |
|
|
 |
|
|
 |
|
|
 |
||||||||||||||||
Note: Close off the intake ports of the intake manifold (lower section) with clean cloths. Installing Installation is carried out in the reverse order; note the following: Note: Replace seals and gaskets.
=> Parts List
=> Parts List
Tightening torques
| ||||||||||||||||