| –
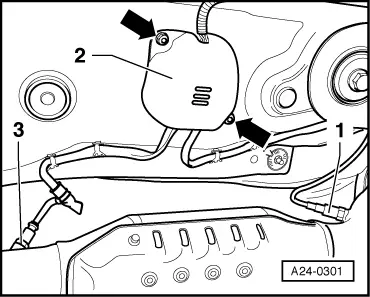
| Unplug the connector of the Lambda probe and lay bare the wire. |
| t
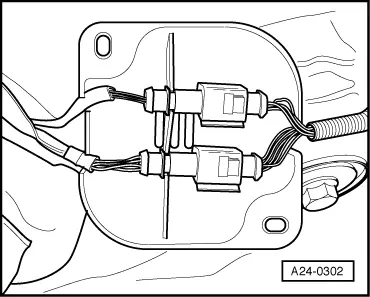
| Identification of connectors: Black for Lambda probe -G39- and Lambda probe heater -Z19-; brown for Lambda probe after catalytic converter -G130- and Lambda probe 1 heater after catalytic converter -Z29-. |
| –
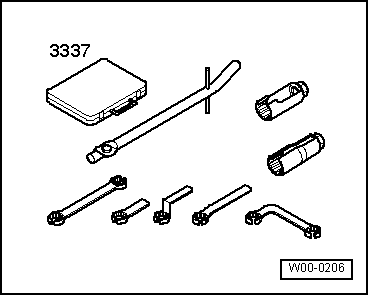
| Use a tool from the ring spanner set for Lambda probe -3337- to screw out the Lambda probe. |
| Pay attention to the following on installation: |

Note | t
| New Lambda probes are coated with assembly paste which is not to be allowed to come into contact with the slits in the probe body. |
| t
| Only the thread of an old Lambda probe is to be coated with the high-temperature paste. This paste must not be allowed to come into contact with the slits in the probe body. High-temperature paste → Parts catalogue |
| t
| When installing, the Lambda probe wire must always be reattached at the same locations to prevent it from coming into contact with the exhaust pipe. |
| t
| Tightening torque: 55 Nm. |
|
|
|