audi Workshop Repair Guides

Audi Workshop Service and Repair Manuals

Checking adjustment of assembly mountings (engine/gearbox mountings) > < Assembly mountings - exploded view
Removing and installing engine mountings
Special tools and workshop equipment required
   
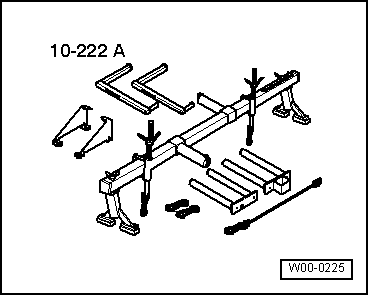
t  Support bracket -10 - 222 A-
  W00-0225
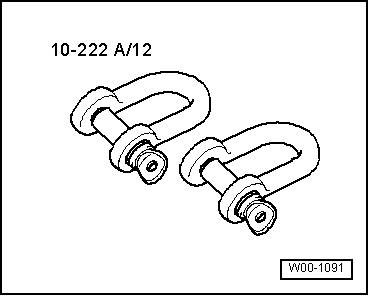
t  Shackle -10 - 222 A /12-
  W00-1091
Removing
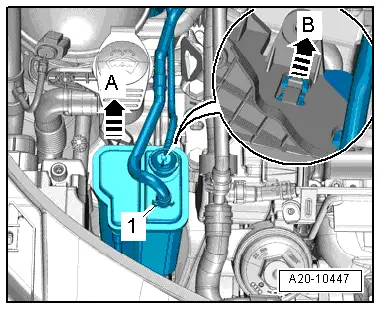
–  Release activated charcoal filter -arrow B-, lift off -arrow A- and move clear to one side with line -1- connected.
  A20-10447
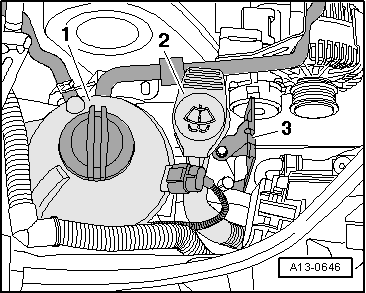
–  Remove bracket -3- for activated charcoal filter.
–  Remove bolt on filler neck -2- for washer fluid reservoir.
  Note
Disregard -item 1-.
  A13-0646
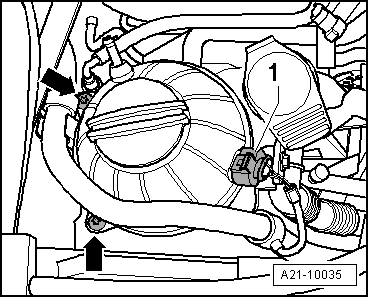
–  Remove bolts -arrows-.
–  Detach electrical connector -1- for coolant shortage indicator switch -F66- and move coolant expansion tank to side.
  A21-10035
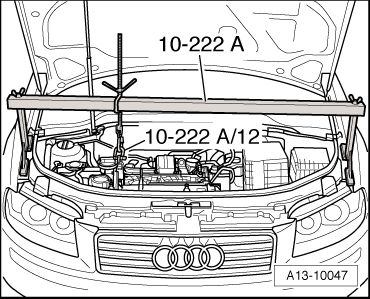
–  Secure shackle -10 - 222 A /12- to engine lifting eye (right-side).
–  Set up support bracket -10 - 222 A- on body flanges.
l  The spindle is located at rear.
–  Engage hook on spindle in shackle.
–  Apply light tension to spindle.
  A13-10047
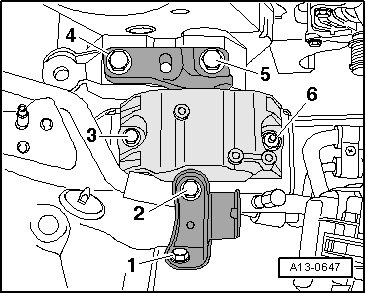
–  Remove bolts -1 and 2- and detach connecting bracket.
–  Remove bolts -3 ... 6- and detach engine mounting.
Installing
Installation is carried out in the reverse order; note the following:
l  Tightening torques → Chapter „Assembly mountings - exploded view“
  Note
Renew the bolts tightened with specified tightening angle.
–  Install filler neck for washer fluid reservoir → Electrical system; Rep. gr.92.
–  Check adjustment of assembly mountings (engine/gearbox mountings) → Chapter.
  A13-0647

Checking adjustment of assembly mountings (engine/gearbox mountings) > < Assembly mountings - exploded view