
A3 Mk2
|
|
|
|
|
|
|
 Caution
 WARNING
|
|
|
|
|
|
|
|
|
|
|
|
|
|
|
|
 Note
Note
|
|
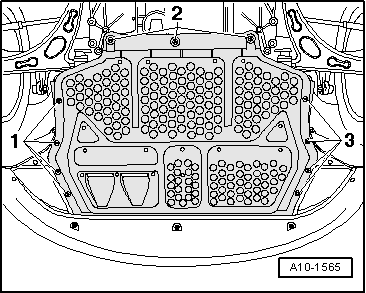
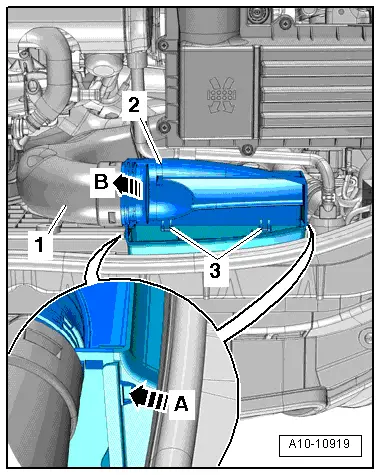
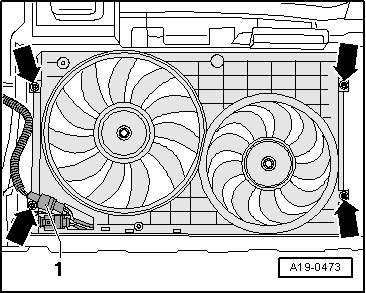
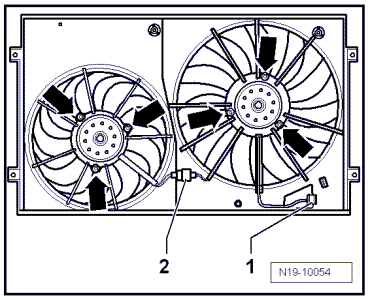
| Component | Nm |
| Radiator fan to radiator cowl | 5 |
| Radiator cowl to radiator | 5 |
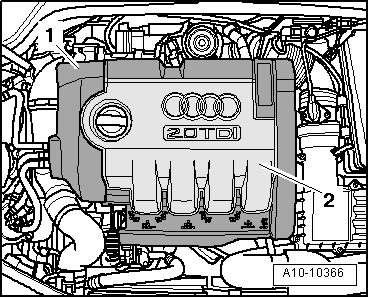
| Air cleaner housing to bracket | 10 |