audi Workshop Repair Guides

Audi Workshop Service and Repair Manuals

Sealing flange (pulley end) - exploded view > < Removing and installing bracket for ancillaries
Removing and installing vibration damper
Special tools and workshop equipment required
   
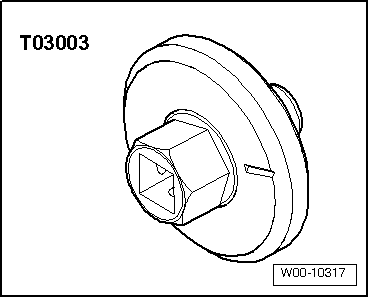
t  Socket -T03003-
  W00-10317
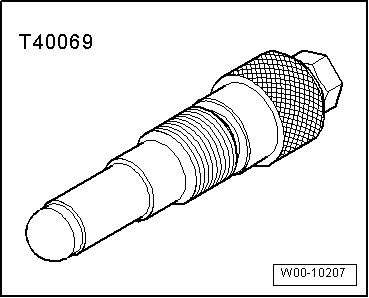
t  Locking pin -T40069-
  W00-10207
Removing
–  Remove poly V-belt for air conditioner compressor → Chapter.
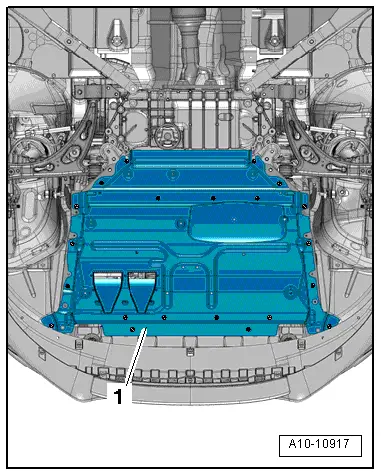
–  Remove noise insulation -1- → Rep. gr.66.
  A10-10917
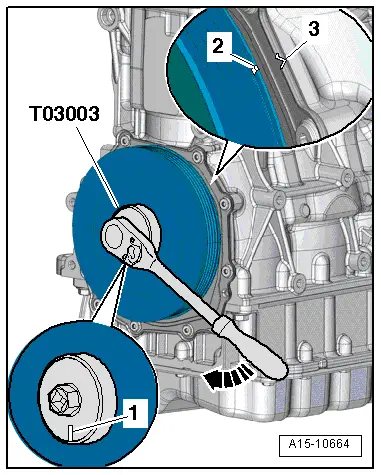
–  Turn crankshaft with socket -T03003- in normal direction of rotation -arrow- to „TDC position“.
l  Notch -1- in socket -T03003- must be perpendicular to sealing surface of sump.
l  Marking -2- on vibration damper must be opposite marking -3- on sealing flange.
  A15-10664
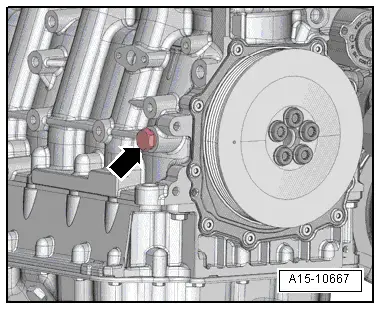
–  Unscrew plug -arrow- for „TDC“ marking from cylinder block.
  A15-10667
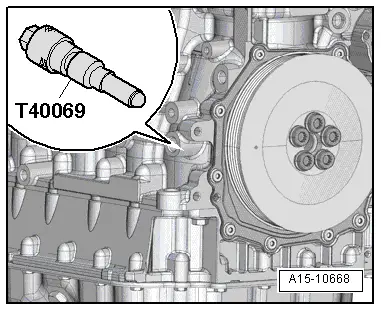
–  Screw locking pin -T40069- into locating groove and tighten to 15 Nm. If necessary, turn crankshaft backwards and forwards slightly to fully centralise locking pin.
  A15-10668
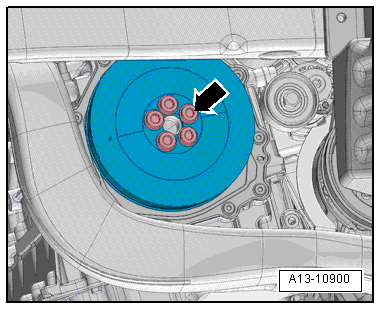
–  Unscrew bolts -arrow- and remove vibration damper.
Installing
Installation is carried out in the reverse order; note the following:
l  Tightening torque → Chapter „Poly V-belt drive, bracket for ancillaries - exploded view“
  Note
t  Renew the bolts tightened with specified tightening angle.
t  The vibration damper can only be fitted in one position.
–  Remove locking pin -T40069-.
–  Tighten plug for „TDC“ marking → Fig..
–  Install noise insulation panels → Rep. gr.66.
–  Install poly V-belt for air conditioner compressor → Chapter.
  A13-10900

Sealing flange (pulley end) - exploded view > < Removing and installing bracket for ancillaries