audi Workshop Repair Guides

Audi Workshop Service and Repair Manuals

Removing and installing track rod > < Removing and installing lower transverse link
Removing and installing upper transverse link
Special tools and workshop equipment required
   
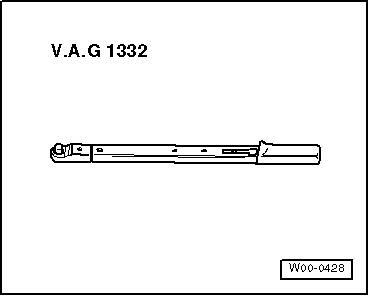
t  Torque wrench -V.A.G 1332-
Removing
–  Measure distance from centre of wheel to lower edge of wheel housing → Chapter.
–  Remove wheel.
–  Remove coil spring → Chapter.
  W00-0428
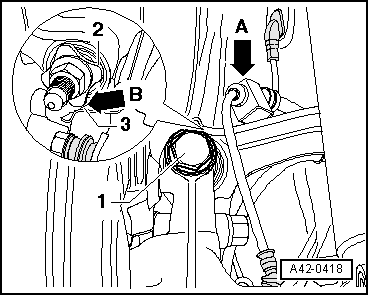
–  Disengage speed sensor wire at upper transverse link -arrow A-.
–  Remove bolt -1-.
  A42-0418
–  Use felt-tip pen or similar to mark position of eccentric bolt -arrow- in relation to subframe.
–  Remove bolt -arrow-.
–  Take out upper transverse link.
Installing
Installation is performed in reverse sequence; note the following:
Tightening torques → Chapter „Exploded view of subframe, lower transverse link, upper transverse link, track rod, vehicle level senders“
Tightening torques → Chapter „Exploded view of wheel bearing housing, wheel bearing unit, trailing arm with mounting bracket, stone deflector“
Tightening torques → Chapter „Exploded view of shock absorbers, coil springs“
Tightening torques → Chapter „Exploded view of anti-roll bar“
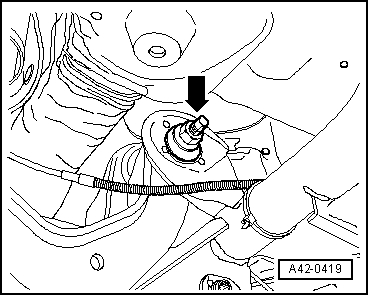
  A42-0419
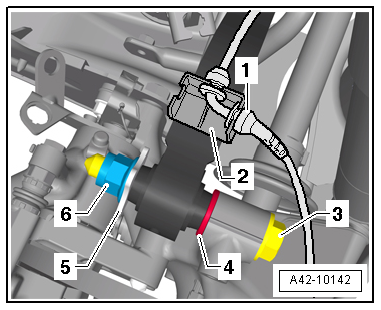
–  Install bolt -3- with washer -4-.
Washer -4- installed on vehicles with aluminium wheel bearing housing.
Before tightening bolt securing transverse link, obtain the same distance between wheel hub centre and lower edge of wheel housing as measured before dismantling → Chapter.
  A42-10142
–  Note mark for position of eccentric bolt -arrow- in relation to subframe.
  Note
  A42-0419
Washer -2- must be installed so that there is a gap -arrow B- between washer and cover plate -3-.
–  Check and adjust wheel alignment as required, see chart → Anchor.
  A42-0418

Removing and installing track rod > < Removing and installing lower transverse link