| –
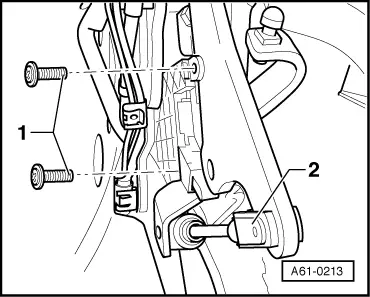
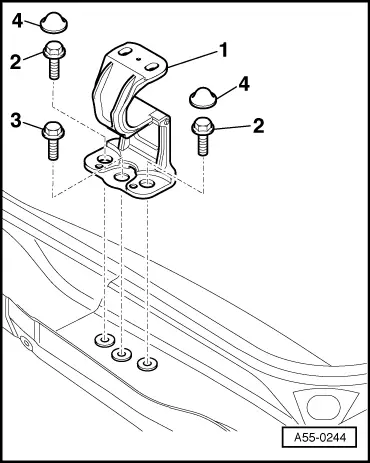
| Slacken off the bolts -1-, -2- and -3- of the main supports by approx. 2 turns. |
| l
| Two mechanics are required to balance out the convertible top on the left and right. |
| –
| Remove bolts -1- and -2-. |
| l
| Leave bolt -3- in body panel as a locking element. |
| –
| Lift convertible top by approx. 20 cm and pull convertible top cables upwards out of body. |
| –
| Lift out convertible top to rear over vehicle. |
| Install in reverse order, paying attention to the following: |
| –
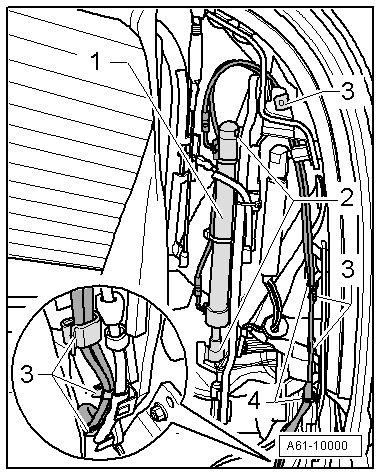
| When inserting convertible top structure, take care not to damage hydraulic pipes and cables. |
| –
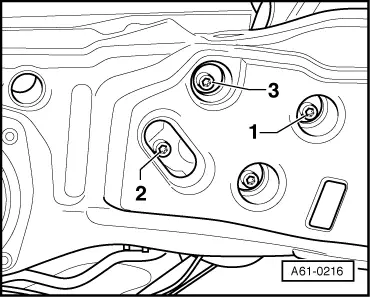
| On installing the main hydraulic cylinders, make sure the plastic washers are inserted in the pivot points of the master hydraulic cylinder. |
| –
| With the convertible top closed, check whether the raised windows move into the seals at the front and rear. |
|
|
|
 Note
Note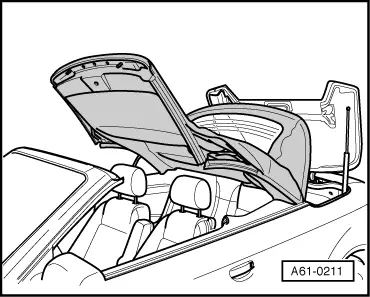

 Caution