
A4 Cabriolet Mk2
| Renewing oil seal for propshaft flange on rear final drive (rear final drive installed) |

| Special tools and workshop equipment required |
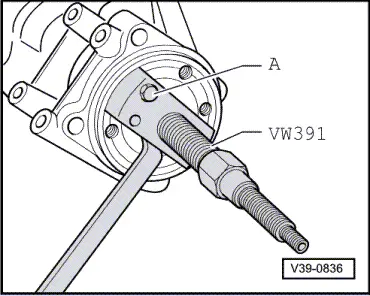
| t | Drive flange installing tool -VW 391- |
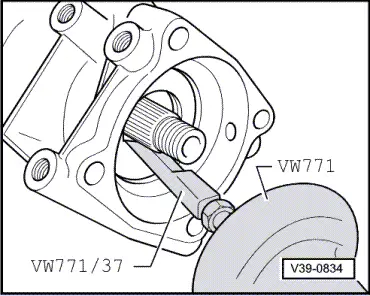
| t | Multi-purpose tool -VW 771- |
| t | Puller hook -VW 771/3- |
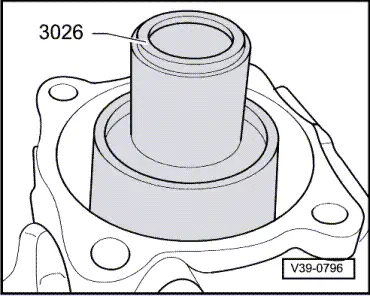
| t | Punch -3026- |
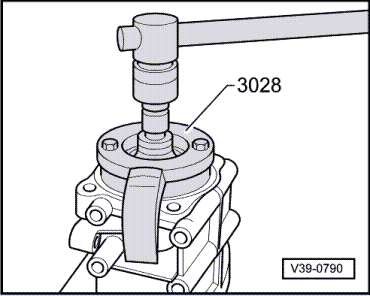
| t | Counterhold tool -3028- |
| t | Drift sleeve -3143- |
| t | Sealing grease -G 052 128 A1- |
| t | Locking fluid -D 000 600- |
| t | 2 x Hexagon bolts M 8 x 30 |
| t | Hexagon bolt M 10 x 100 10.9 |
|
|
|
|
|

|
|
|
|
|
|
|
|
|
|
|
|
|
|
|
|
|
|
|
|

|
|
|
|
|
|
|
|
|