
A4 Cabriolet Mk2
|
|
|
|
|
 Note
Note |
|
|
|
|
|
Note
|
|
 Caution
|
|
|
|
Note |
|
|
|
|
|
|
|
|
|
|
|
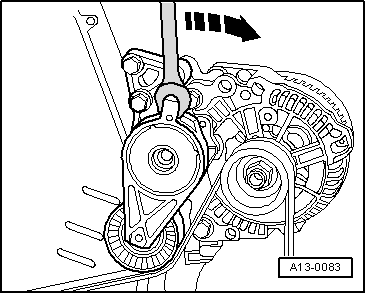
| Component | Nm |
| Tensioning roller to cylinder head | 23 |
| Toothed belt cover (top section) to cylinder head | 10 |
| Tensioner for poly V-belt to bracket for ancillaries | 23 |