audi Workshop Repair Guides

Audi Workshop Service and Repair Manuals

Removing and installing bracket for ancillaries > < Removing and installing poly V-belt
Removing and installing crankshaft pulley
Removing
   
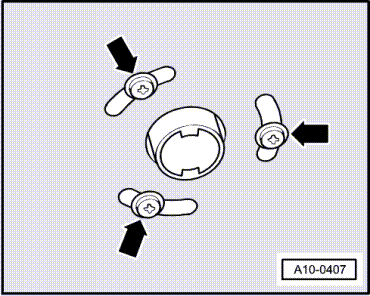
–  Vehicles with auxiliary heater: remove bolts -arrows- securing exhaust pipe for auxiliary/additional heater to noise insulation.
  A10-0407
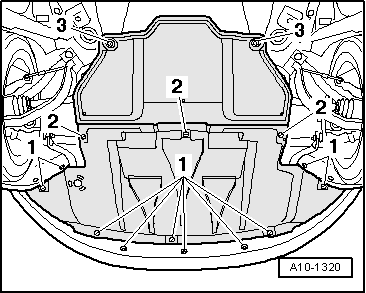
–  Release quick-release fasteners -1- and -2- and take off front noise insulation.
–  Move lock carrier to service position → Chapter.
–  Remove poly V-belt → Chapter.
  A10-1320
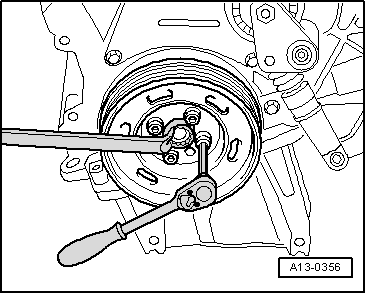
–  Unbolt crankshaft pulley.
  Note
To loosen and tighten the crankshaft pulley, counterhold central bolt with a ring spanner.
Installing
Installation is carried out in the reverse order; note the following:
  A13-0356
–  Install the crankshaft pulley with genuine bolts only: → Parts catalogue.
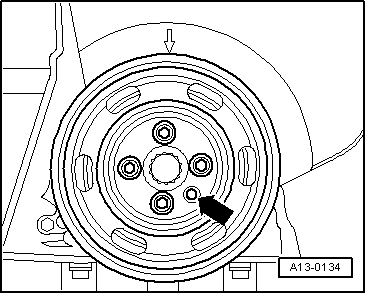
t  Assembly is only possible in one position: The hole -arrow- in the crankshaft pulley must fit over the projection on the toothed belt sprocket.
–  Install lock carrier with attachments → General body repairs, exterior; Rep. Gr.50.
  A13-0134
–  Allow stop for torque reaction support to rest on rubber buffer for torque reaction support under its own weight and tighten nuts -arrows-.
–  Install front bumper cover → General body repairs, exterior; Rep. Gr.63.
–  Check headlight adjustment → Booklet803.
Tightening torque
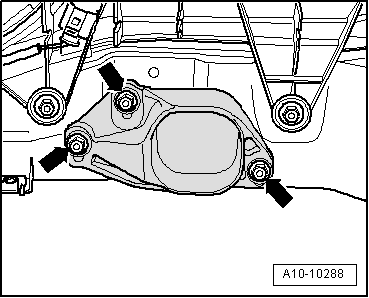
  A10-10288
Component Nm
Pulley to crankshaft10 + 90° 1)2)
l  1) Renew bolt/nut
l  2) 90° = a quarter of a turn


Removing and installing bracket for ancillaries > < Removing and installing poly V-belt