
A4 Cabriolet Mk2
| Renewing crankshaft oil seal (pulley end) |

| Special tools and workshop equipment required |
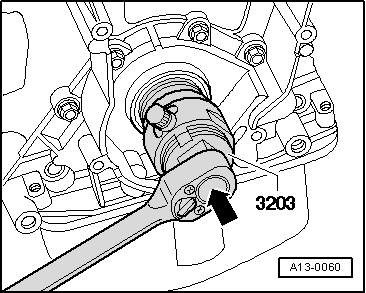
| t | Oil seal extractor -3203- |
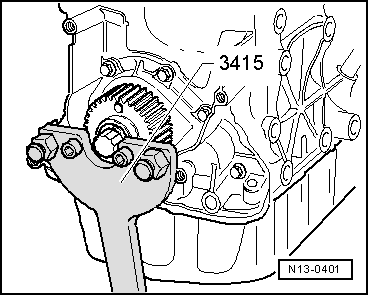
| t | Counterhold tool -3415- |
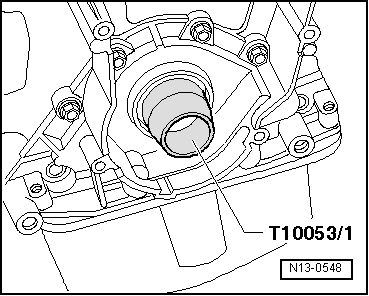
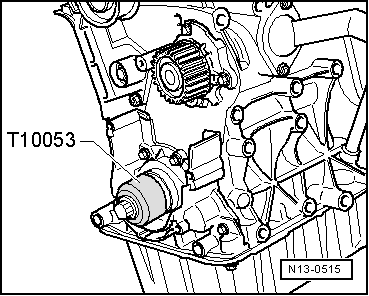
| t | Assembly tool -T10053- |
| t | Torque wrench -V.A.G 1331- |
| t | Torque wrench -V.A.G 1332- |
|
|
|
|
|
|
|
|
|
|
 Note
Note
|
|
|
|
| Component | Nm |
| Toothed belt sprocket to crankshaft | 90 + 90° → Remark → Remark |
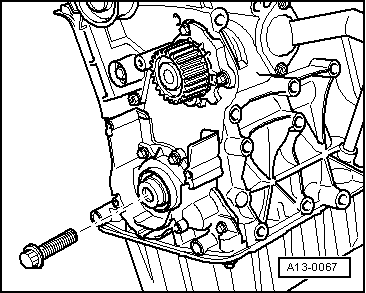
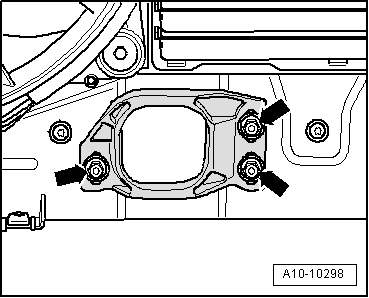
| Stop for torque reaction support to lock carrier | 28 |
|