
A4 Cabriolet Mk2
|
|
|
|
|
 Note
Note
|
|
|
|
|
|
Note
|
|
Note
|
|
|
|
Note
|
|
| Component | Nm | |
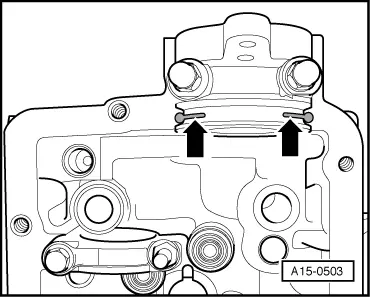
| Cylinder head cover to cylinder head | 10 → Note | |
| Guide tube for dipstick to cylinder head | 10 | |
| Return pipes to injectors | 5 | |
| Injector pipes to: | Injectors | 30 |
| Injection pump | 30 | |
|