
A4 Cabriolet Mk2
|
|
|
|
|
|
|
|
|
|
|
|
|
 Note
Note
Note
|
|
|
|
|
|
Note
|
|
Note
|
|
| Component | Nm | |||||
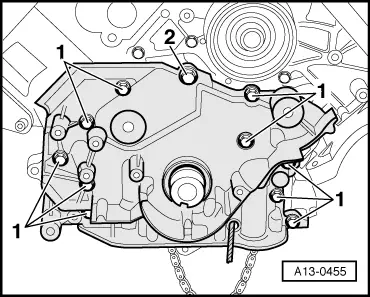
| Front sealing flange to cylinder block | M6 | 10 | ||||
| M8 | 30 1) | |||||
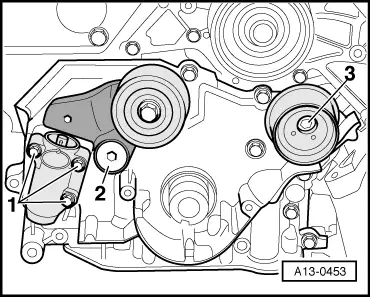
| Tensioning lever to sealing flange (front) | 45 1) | |||||
| Tensioner to sealing flange (front) | 10 | |||||
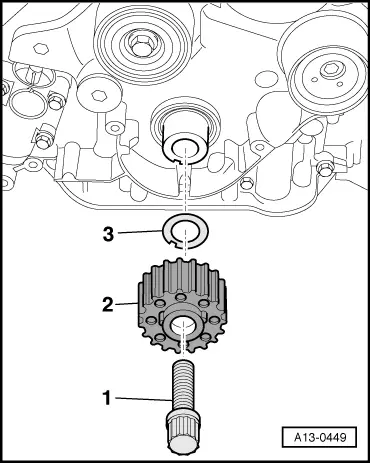
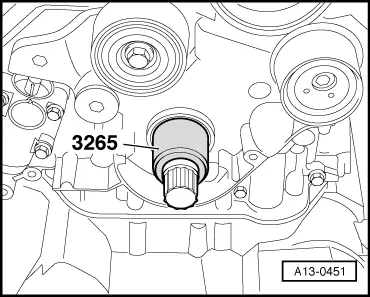
| Toothed belt sprocket to crankshaft | 200 + 180° 1)2) | |||||
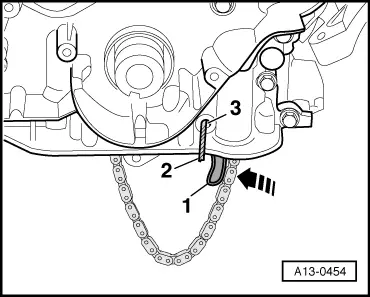
| Sealing plug for access hole to sealing flange (front) | 10 | |||||
| ||||||