audi Workshop Repair Guides

Audi Workshop Service and Repair Manuals

Removing and installing combination valve for secondary air system (left-side) > < Removing and installing secondary air pump
Checking combination valve for secondary air system for proper operation and leakage
Special tools and workshop equipment required
   
t  Hand vacuum pump with accessories -V.A.G 1390-
  W00-0515
Procedure
l  Vacuum hoses and hose connections do not leak.
l  Vacuum hoses are not clogged.
–  Pull off engine cover panel (rear) -arrows-.
  A10-1032
–  Unbolt the retaining plate for solenoid valves -arrows-.
–  Lift retaining plate and disconnect vacuum hose of relevant combination valve from Y-piece.
–  Connect the hand vacuum pump -V.A.G 1390- to vacuum hose of combination valve you want to check.
  A10-0993
–  Vehicles with auxiliary heater: remove bolts -arrows- securing exhaust pipe for auxiliary/additional heater to noise insulation.
  A10-0407
–  Release bolts or quick-release fasteners -1- and -2- and take off front noise insulation.
–  If fitted, open quick-release fasteners -3- and remove rear noise insulation.
  A10-1320
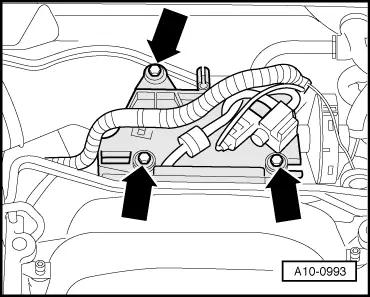
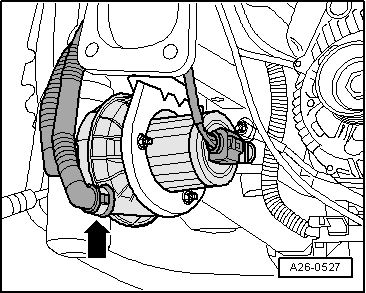
–  Disconnect pressure hose -arrow- at secondary air pump.
–  Blow lightly into pressure hose with your mouth (do not use compressed air).
l  Both combination valves must be closed and it must not be possible to blow through the hose.
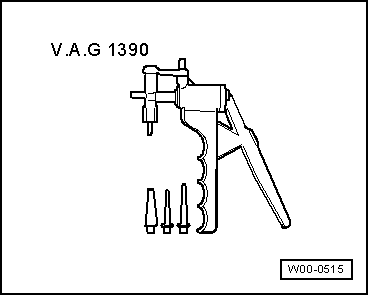
–  Operate hand vacuum pump.
l  The combination valve should open; it should now be possible to blow through the hose.
If the relevant combination valve does not open:
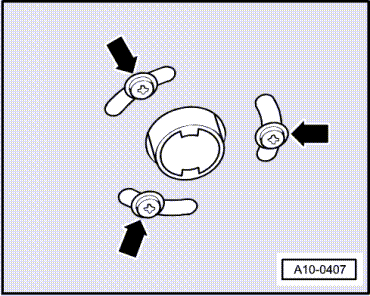
–  Renew combination valve for secondary air system: on left-side → Chapter, on right-side → Chapter.
  A26-0527

Removing and installing combination valve for secondary air system (left-side) > < Removing and installing secondary air pump