
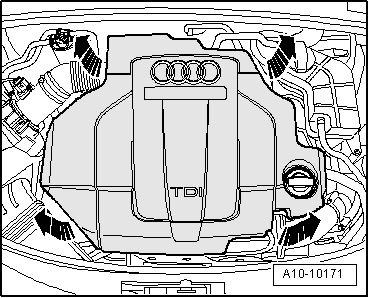
Removing and installing left-side coolant pipe for Audi A4 Cabriolet Mk2 6-cylinder TDI engine
| Removing and installing coolant pipe (left-side) |
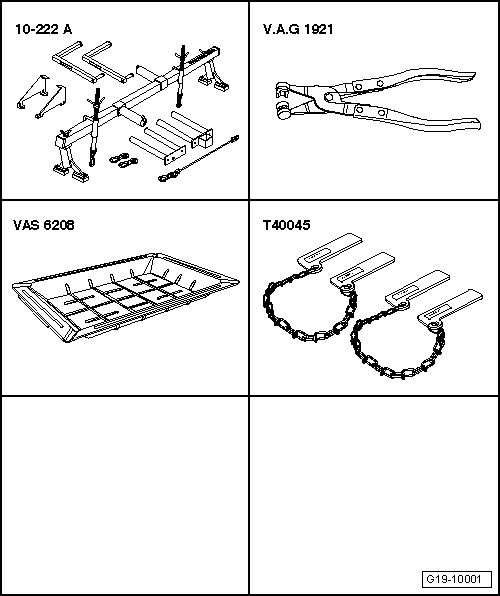
| Special tools and workshop equipment required |
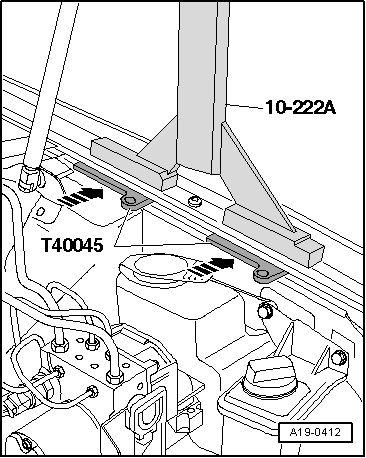
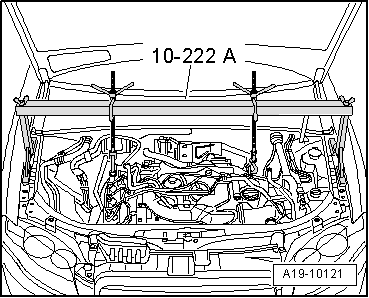
| t | Support bracket -10 - 222 A- |
| t | Hose clip pliers -V.A.G 1921- |
| t | Drip tray for workshop hoist -VAS 6208- |
| t | Mud wing compensation plate -T40045- |
 Note
Note
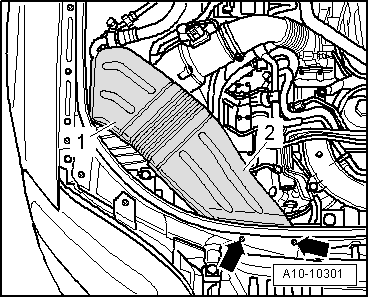
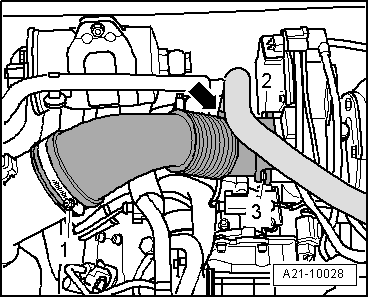
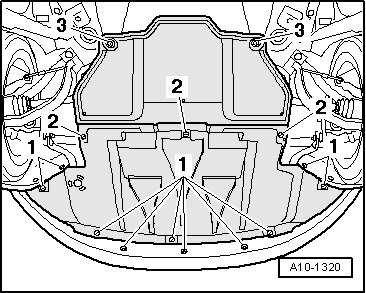
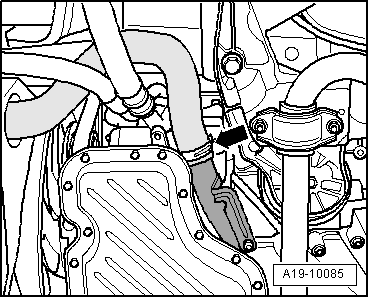
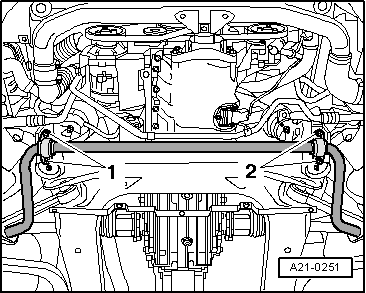
|
|
|

|
|
|
|
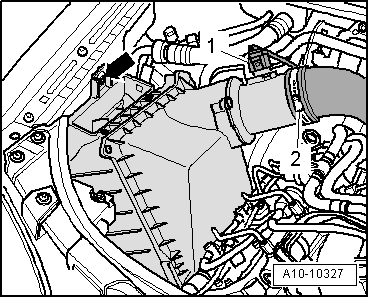
|
Note
|
|
|
|
|
|
 WARNING
|
|
|
|
|
|
|
|
|
|
|
|
Note
|
|
| Component | Nm | |||
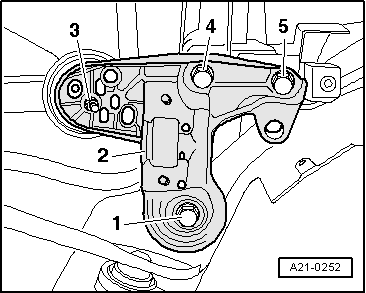
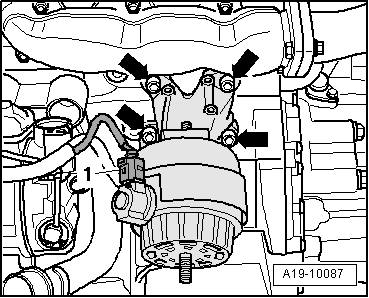
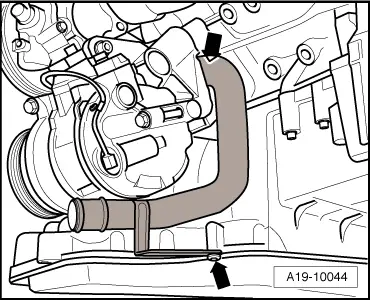
| Coolant pipe (left-side) to top section of sump and bracket for ancillaries | 9 | |||
| Engine support to cylinder block | 40 | |||
| Console for engine mounting to longitudinal member | 75 1) | |||
| Engine mounting to console for engine mounting | 23 | |||
| Air pipe to turbocharger | 9 | |||
| Hose clips | Width 9 mm | 3 | ||
| Width 13 mm | 5.5 | |||
| ||||