audi Workshop Repair Guides

Audi Workshop Service and Repair Manuals

Sump (top section) - exploded view > < Removing and installing sump (bottom section)
Removing and installing oil pump
Special tools and workshop equipment required
   
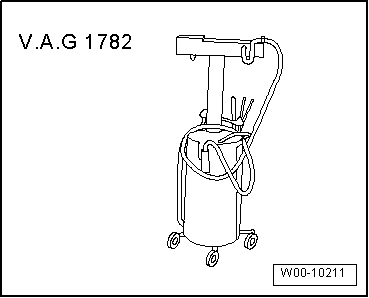
t  Used oil collection and extraction unit -V.A.G 1782-
  W00-10211
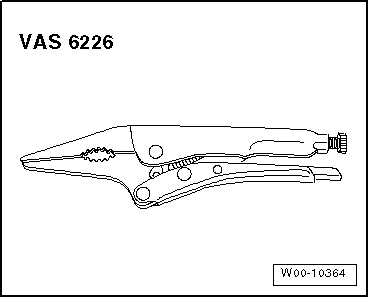
t  Long-nose grip pliers -VAS 6226-
  W00-10364
Removing
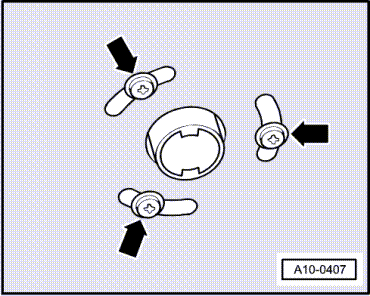
–  Vehicles with auxiliary heater: remove bolts -arrows- securing exhaust pipe for auxiliary/additional heater to noise insulation.
  A10-0407
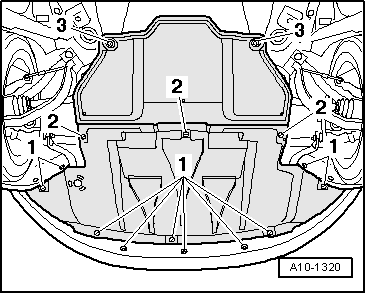
–  Release quick-release fasteners -1- and -2- and take off front noise insulation. Leave rear noise insulation in position.
  A10-1320
–  Place used oil collection and extraction unit -V.A.G 1782- under engine.
–  Drain off engine oil.
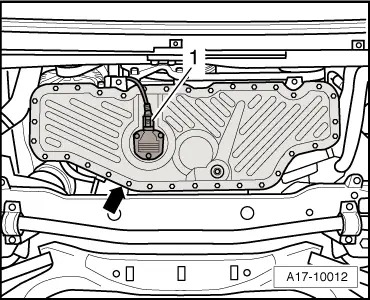
–  Unplug electrical connector at oil level and oil temperature sender -G266--item 1-.
–  Unbolt sump (bottom section) -arrow-.
  A17-10012
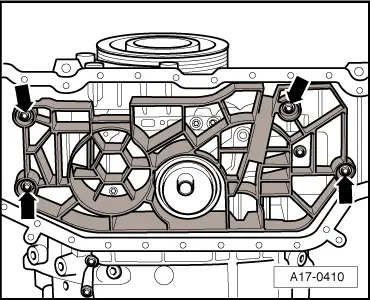
–  Detach baffle plate -arrows-.
  A17-0410
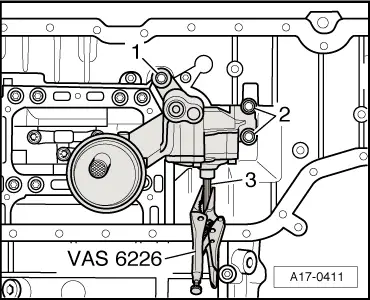
–  Unscrew bolts -1- and -2-.
–  Hold oil pump drive shaft -3- firmly with long-nose grip pliers -VAS 6226- and push shaft back against spring pressure.
–  Take out oil pump.
  Note
Oil pump drive shaft remains in position.
Installing
Installation is carried out in the reverse order; note the following:
  Note
Renew seals and O-rings.
–  Check that the two dowel sleeves are fitted in the oil pump; install if necessary.
–  Install sump (bottom section) → Anchor.
–  Fill up with engine oil and check oil level → Booklet803 or → Booklet805.
Tightening torques
  A17-0411
ComponentNm
Oil pump to sump (top section)23
Baffle plate to sump (top section)8 + 90° 1)2)
l  1) Renew bolts.
l  2) 90° = one quarter turn.


Sump (top section) - exploded view > < Removing and installing sump (bottom section)