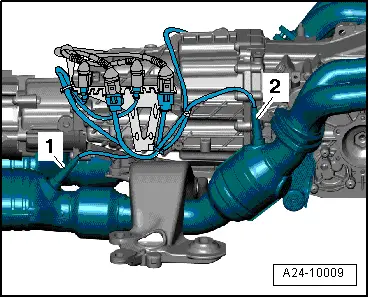
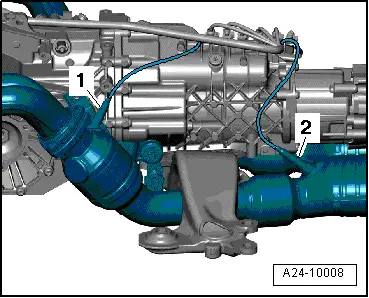
| Fitting location of Lambda probes on cylinder bank 2 (left-side) |
| 1 - | Lambda probe 2 -G108- (before catalytic converter) |
| 2 - | Lambda probe 2 after catalytic converter -G131- |
| l
| Tightening torque: 55 Nm |

Note | t
| New Lambda probes are coated with an assembly paste. The paste must not get into the slots on the probe body. |
| t
| In the case of a used Lambda probe grease only the thread with high-temperature paste. The paste must not get into the slots on the probe body. High-temperature paste → Parts catalogue |
| t
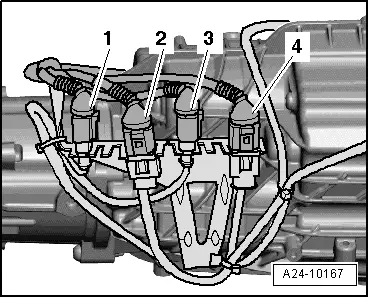
| When installing, it is important to re-attach the Lambda probe wiring at the same locations to prevent it from coming into contact with the exhaust pipe. |
| Removing and installing Lambda probes → Chapter |
|
|
|