
A4 Mk1
 |
|
|
 |
|
|
|
|
|
 |
|
Notes:
|
 |
|
=> General Body Assembly, Interior; Repair group 70; Dash panel |
 |
|
Important:
Never detach mesh section between top and bottom part of steering column on assembly.
=> Electrical System; Repair group 97; Fitting locations for control units and electrical components
|
 |
|
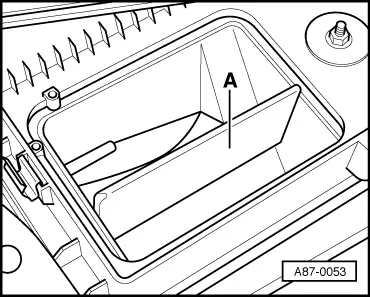
=> General Body Assembly, Interior; Repair group 70; Dash panel Note: To ensure that the outer surface of the dash panel is not damaged, the dash panel may only be placed on a clean work bench which should be covered with clean cardboard, for example.
|
 |
|
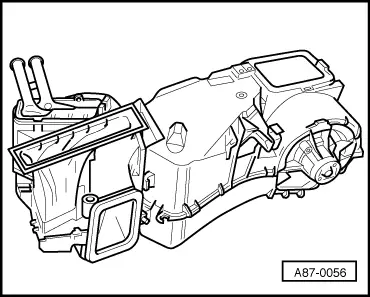
Installing Installation is carried out in the reverse order; note the following: Note: Check all the seals on the air conditioner for damage, replace damaged seals.
|
|
|
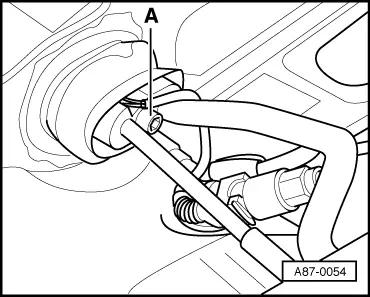
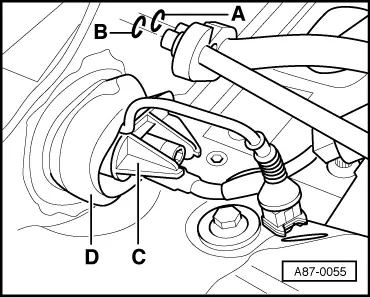
=> Relevant Workshop Manual Engine, Mechanical Components; Repair group 19
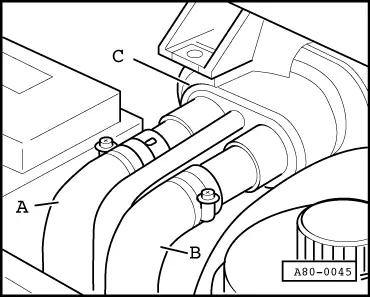
=> Air conditioner - with refrigerant R134a |