
A4 Mk1
|
Repair instructions
Repair instructions
The maximum possible care and cleanliness and proper tools are essential to ensure satisfactory and successful gearbox repairs. The usual basic safety precautions naturally also apply when carrying out vehicle repairs. A number of generally valid instructions governing the various repair procedures - which used to be repeated several times throughout the Workshop Manual - are summarised here and apply to this Workshop Manual. Special tools For a list of special tools used in this Workshop Manual, refer to => "Special Tools, Workshop Equipment" binder Gearbox
|
 |
|
|
Locking elements
Sealant
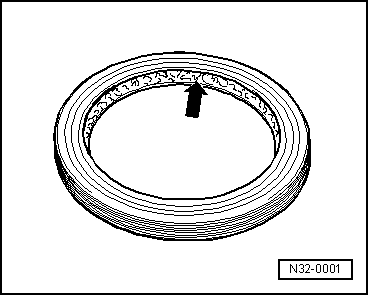
O-rings, oil seals, gaskets
|
 |
|
Bolts and nuts
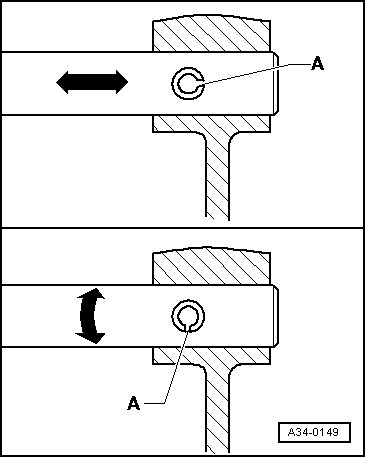
Bearings
Shims
Gear wheels, synchro-hubs, inner races for sliding gears
Sliding gears
Synchro-rings
Clutch mechanism
|