
A4 Mk1
|
Removing and installing sealing flanges and flywheel / drive plate
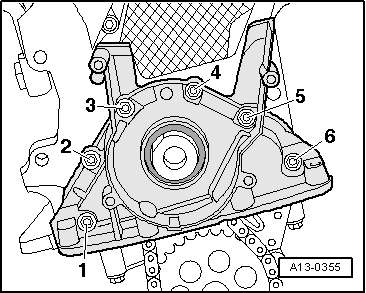
Removing and installing front sealing flange
|
 |
|
|
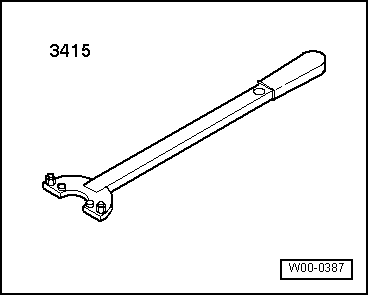
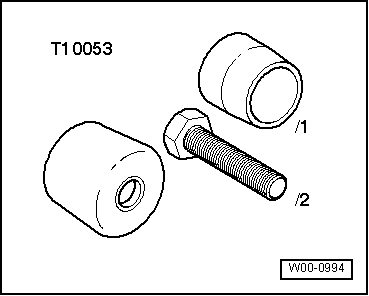
Special tools and workshop equipment required
|
 |
|
Notes:
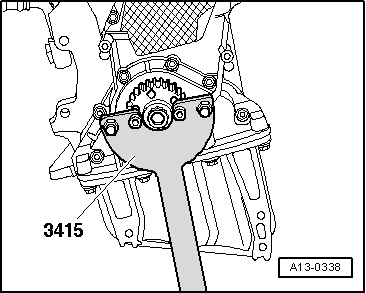
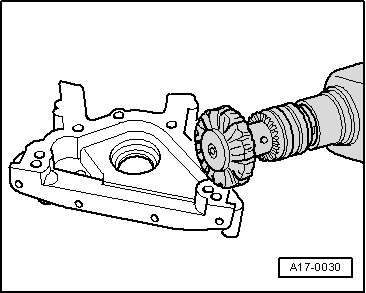
Removing
Vehicles with air conditioner:
|
 |
|
|
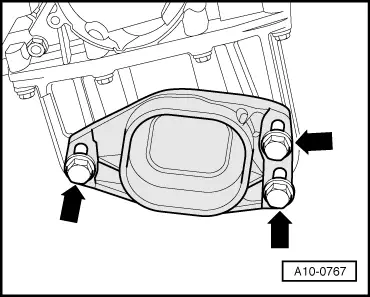
All models:
|
 |
|
 |
|
|
 |
|
Attention:
Use safety goggles.
|
 |
|
|
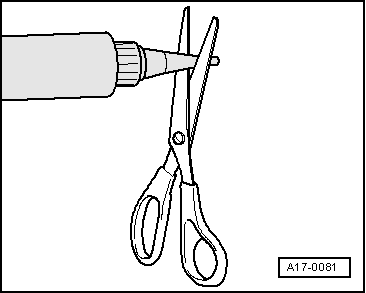
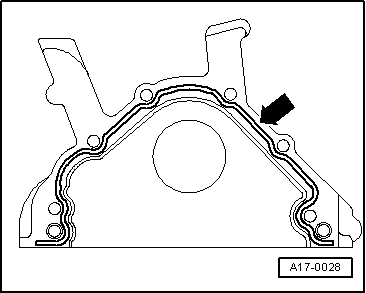
Installing Note: Sealing flange must be fitted within 5 minutes after applying silicone sealant.
|
 |
|||||||
Note: Sealant bead must not be thicker than 3 mm, as otherwise excess sealant could ingress into sump and clog strainer in oil intake pipe.
Note: Use guide sleeve T10053/1 to fit sealing flange with oil seal already fitted.
Note: After installing, wait for approx. 30 minutes for sealant to dry before pouring in engine oil.
Tightening torque
|