A4 Mk1
|
Dismantling and assembling engine
Removing and installing ribbed belt
Note: |

 |
|
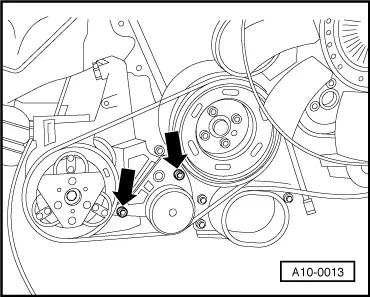
All models |
 |
|
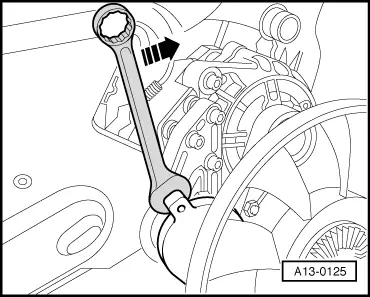
Note: |
|
|
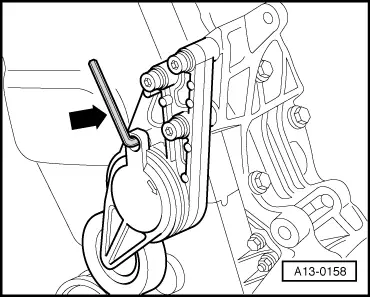
Vehicles with air conditioner: |
 |
|
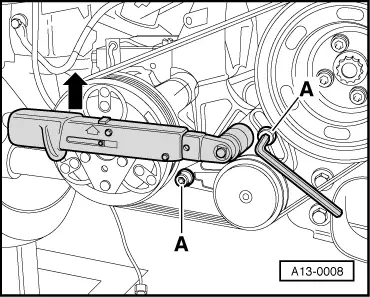
All models
|

|
Dismantling and assembling engine
Removing and installing ribbed belt
Note: |
|
|
All models |
|
|
Note: |
|
|
Vehicles with air conditioner: |
|
|
All models
|