
A4 Mk1
|
|
|
|
|
|
|
|
|
|
|
|
|
|
|
 Note
Note
|
|
|
|
|
|
| Component | Nm | ||
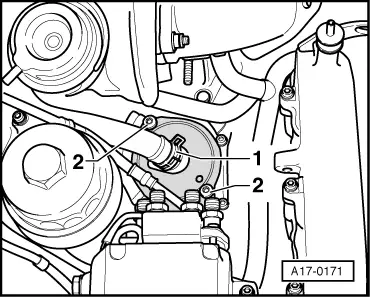
| Connection | 10 | ||
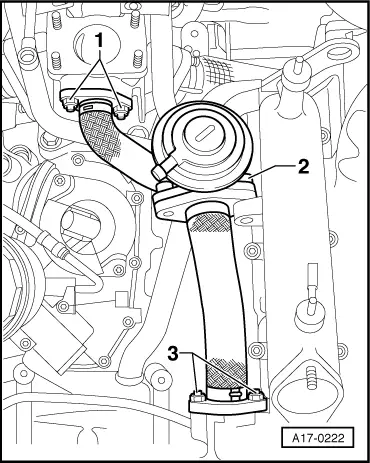
| Mechanical exhaust gas recirculation valve to intake manifold | 22 | ||
| Pipe for exhaust gas recirculation to | Intermediate flange | 22 | |
| Intake manifold (front) | 10 | ||
| Injector pipes to | Injectors | 30 | |
| Injection pump | 30 | ||