
A4 Mk1
|
Removing and installing parts of cooling system
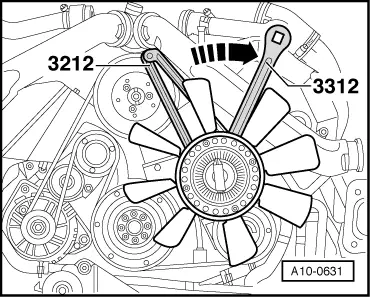
Removing and installing viscous fan
Removing |
 |
|
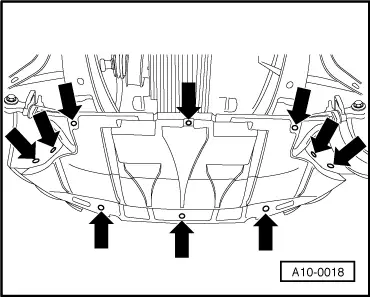
=> General body repairs, Exterior; Repair Group 50; Body front; Lock carrier service position |
 |
|
Note: Viscous fan has left-hand thread: turn in direction indicated.
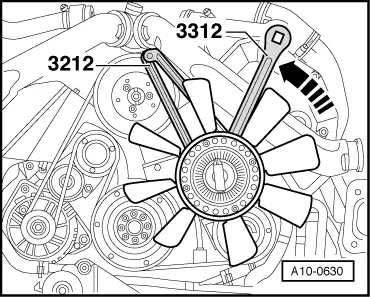
Installing Install in the opposite order to removing. When installing, note the following points: |
 |
||||||||||
Note: Viscous fan has left-hand thread: turn in direction indicated.
=> General body repairs, Exterior; Repair Group 50; Body front; Lock carrier service position
| ||||||||||