
A4 Mk1
|
Fuel supply system - four-wheel drive
Removing and installing fuel tank with attachments
Observe safety precautions Observe rules for cleanliness Special tools, testers and auxiliary items
Removing
Note: The fuel tank must be empty when it is removed from the vehicle in order to reduce weight.
|
 |
|
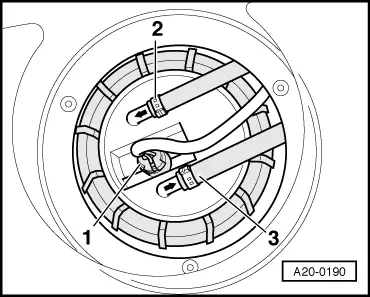
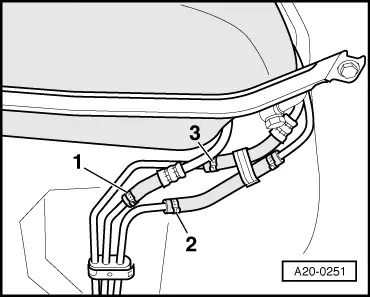
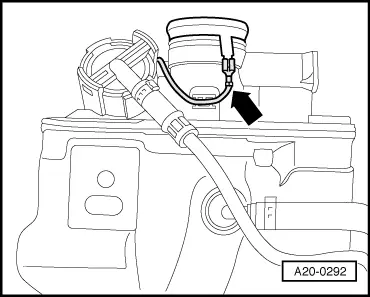
Note: Do not disconnect return pipe -2- and supply pipe -3-.
|
 |
|
|
 |
|
|
Warning!
Fuel system is under pressure! Before opening the system place a cloth around the connection. Then release pressure by carefully loosening the connection.
|
 |
|
Installing Installation is carried out in the reverse order, when doing this note the following: Notes: |
 |
|
=> Parts catalogue
|
|
|
|
|
|
|
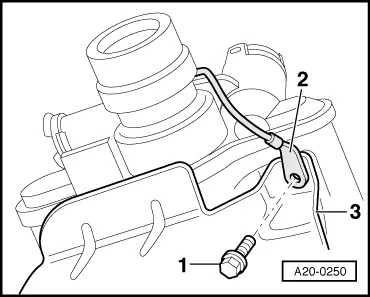
Caution
It is important to ensure that the earth terminal is secured with the bolt and the connector is properly seated at the fuel filler neck. Position=>Fig.20-51.
|