
A4 Mk2
|
|

|
|
|
|
|

| 1 - | Retaining clip |
| 2 - | Seat height adjuster lever |
| 3 - | Seat height adjustment unit |
| t | Removing |
| – | Remove seat → Chapter. |
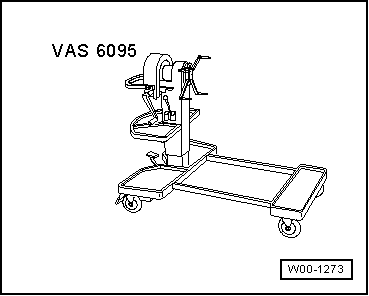
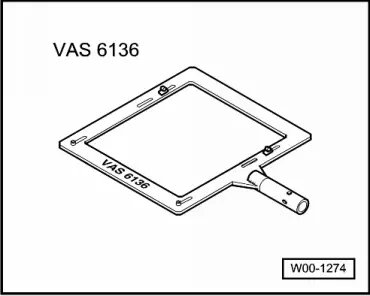
| – | Attach seat repair stand -VAS 6136- to engine and gearbox support -VAS 6095-. |
| – | Attach front seat to seat repair stand -VAS 6136-. |
| – | Remove backrest adjuster → Chapter. |
| – | Remove seat height adjuster → Chapter. |
| – | Remove side trim (sill side) → Chapter. |
| – | Remove nut -5-. |
| – | Remove bolts -7- (2x). |
| – | Unscrew bolt -4-. |
| – | Detach seat height adjuster unit -3- and retaining plate -6-. |
| t | Installing |
| Install in reverse order of removal. Note the following: |
| – | Make sure retaining plate -6- makes contact with backrest frame at point indicated by the arrow. |
| – | Make sure retaining clip -1- is attached to seat height adjuster lever -2-. Note correct installation position → Fig.. |
| 4 - | Bolt |
| q | Tightening torque: 8 Nm |
| 5 - | Nut |
| q | Tightening torque: 12 Nm |
| 6 - | Retaining plate |
| 7 - | Bolts (2x) |
| q | Tightening torque: 8 Nm |