audi Workshop Repair Guides

Audi Workshop Service and Repair Manuals

Installing > < Removing and installing auxiliary heater (vertical installation)
Removing
Removing
–  Switch off ignition and auxiliary heater.
   
–  Remove bolts -C- and detach auxiliary heater tailpipe -A- from noise insulation -B-.
–  Remove noise insulation → Rep. Gr.50.
–  Remove front left wheel housing liner → Rep. Gr.63.
–  Move lock carrier to service position → Rep. Gr.50.
–  Remove charge air cooler on appropriate vehicles → Engine, mechanics; Rep. Gr.21.
–  Unfasten coolant expansion tank cap to dissipate pressure in coolant circuit.
  A82-0351
–  Release connector -A- by pulling on tab -B-.
  Note
t  Connector is released by pressing it towards control unit and pulling tab -E- whilst pressing connector.
t  The Fig. shows the position of the auxiliary heater control unit -J364- for an auxiliary heater fitted in a vehicle with 6-cyl. engine.
–  Unplug connector -A-.
  A82-0356
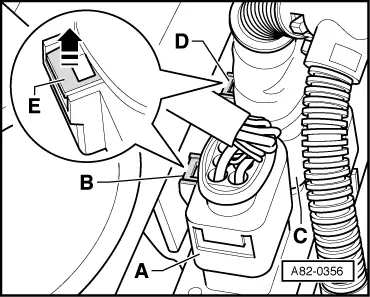
–  Pinch off coolant hoses -A- (from engine/coolant shut-off valve to auxiliary heater) and -B- (from auxiliary heater to heat exchanger of air conditioner unit/heater) using, for example, hose clamps up to Ø 25 mm -VAS 3094-.
–  Mark positions of coolant hoses -A- and -B- with respect to auxiliary heater.
–  Detach coolant hoses -A- and -B- from auxiliary heater.
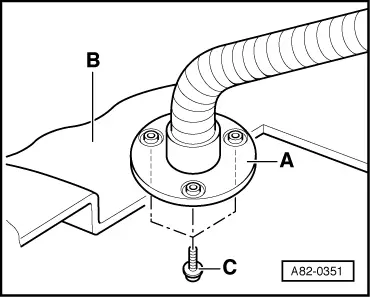
–  Detach fuel pipe -C- from auxiliary heater and seal off.
  A82-0372
–  Remove hexagon bolts -A- (accessible from wheel housing).
  A82-0370
–  Remove hexagon bolt -A-.
–  Detach auxiliary heater from vehicle by removing the two hexagon nuts -B-.
–  Detach auxiliary heater.
  A82-0371

Installing > < Removing and installing auxiliary heater (vertical installation)