
A4 Mk2
| Renewing oil seal and grooved ball bearing for flange for propshaft on gearbox |
| Special tools and workshop equipment required |
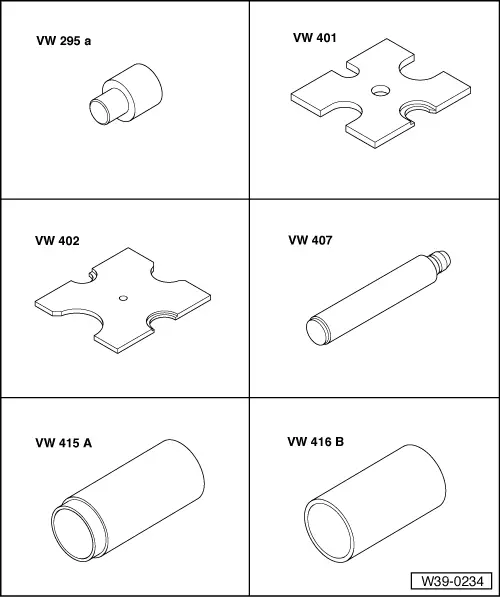
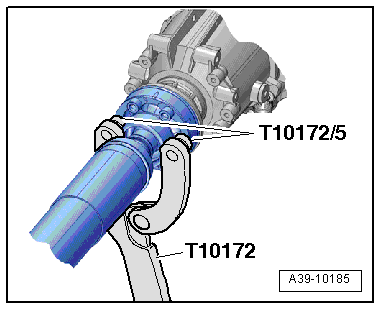
| t | Adapter -VW 295 A- |
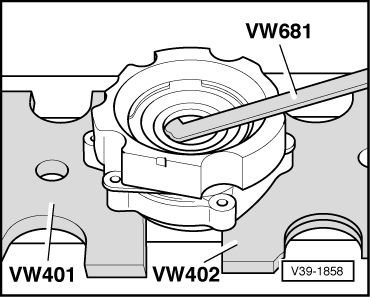
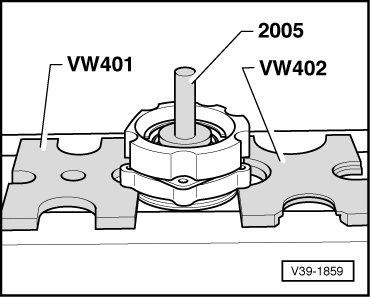
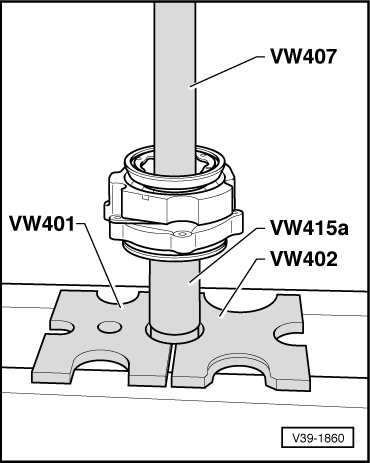
| t | Thrust plate -VW 401- |
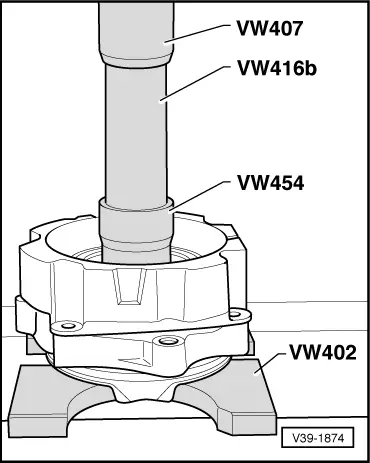
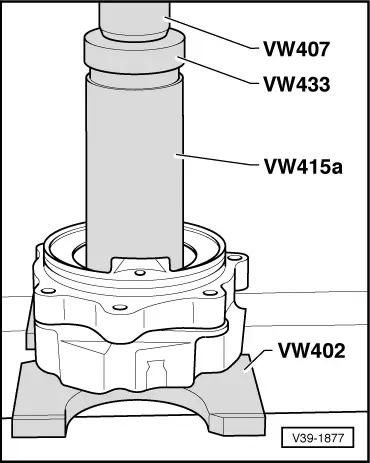
| t | Thrust plate -VW 402- |
| t | Press tool -VW 407- |
| t | Tube -VW 415 A- |
| t | Tube -VW 416 B- |

| t | Press tool -VW 433- |
| t | Press tool - VW 454- |
| t | Oil seal extractor lever -VW 681- |
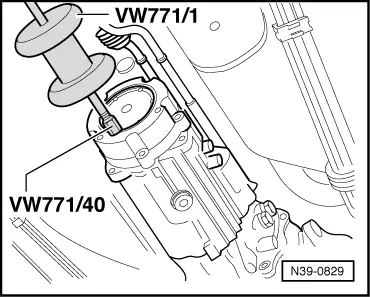
| t | Multi-purpose tool -VW 771- |
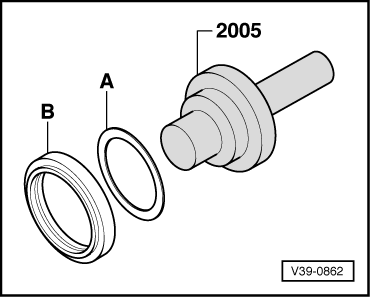
| t | Punch -2005- |
| t | Torque wrench -V.A.G 1331- |
| t | Shim -016 311 391 B- |
|
|
|
|
|
|
| Exploded view |

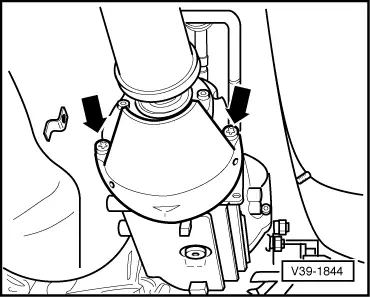
| 1 - | Gearbox |
| 2 - | Grooved ball bearing |
| 3 - | Bearing housing |
| q | With damper weight (depending on version) |
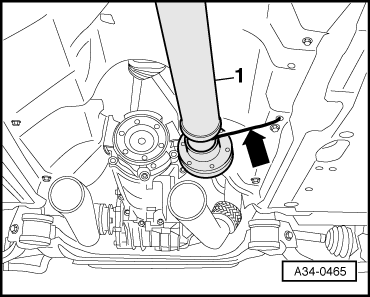
| 4 - | Oil seal |
| q | Driving in → Anchor |
| 5 - | Flange shaft |
| q | On vehicles with 4-cyl. TDI engine and vibration damper → Anchor |
| 6 - | Bolt, 25 Nm |
| q | 6x |
| 7 - | O-ring |
| q | Renew |
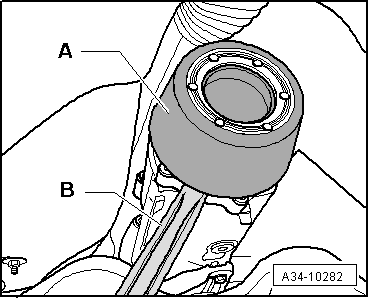
| 8 - | Circlip |
| 9 - | Dished spring |
| q | Mark installation position when removing: larger diameter (concave side) towards shims → Item |
| 10 - | Shims |
| 11 - | Spring |
| 12 - | Oil drain plug, 40 Nm |
 Note
Note |
Note
Note
|
|
|
|
|
|
|
|
|
|
|

|
|
|
|
|
|
|
|
|
|
|
|
|