audi Workshop Repair Guides

Audi Workshop Service and Repair Manuals

Exploded view - servicing clutch release mechanism > < Removing and installing clutch master cylinder
Bleeding clutch system
Special tools and workshop equipment required
   
t  
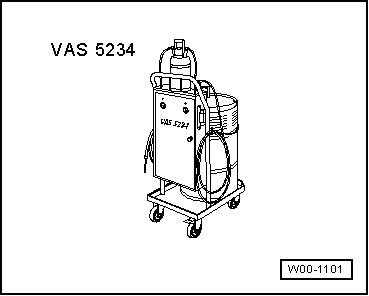
Brake filling and bleeding equipment -VAS 5234-
Brake fluid specification → Rep. gr.47.
Procedure
  Note
t  The clutch system must be bled after performing work on the hydraulic clutch mechanism.
t  Before bleeding the clutch system, pull out the clutch pedal to the normal position and top up brake fluid to „Max“ marking on brake fluid reservoir.
t  
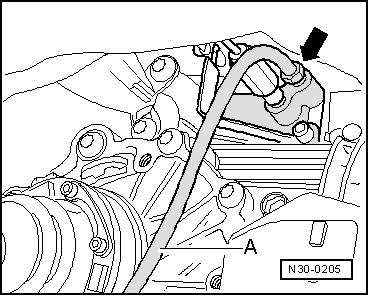
Open the bleeder valve before switching on the bleeding appliance.
t  
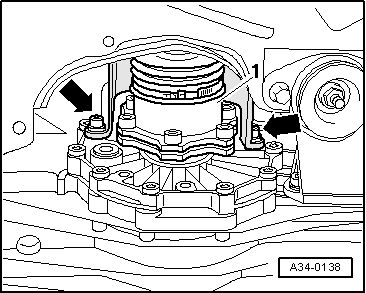
When performing the following steps, make sure that no brake fluid escapes onto the gearbox.
t  The clutch system should be bled at the same intervals as the brake system → Booklet8E.
–  Connect brake filling and bleeding equipment -VAS 5234-, but do not switch on at this stage → Brake system; Rep. gr.47.
–  If fitted, remove noise insulation beneath gearbox.
  W00-1101
–  If fitted, remove heat shield for drive shaft (left-side) -arrows-.
  A34-0138
–  Connect bleeder hose -A- to slave cylinder -arrow- and open bleeder valve.
–  Connect bleeder hose to pressure hose of fluid collector bottle.
–  Switch on bleeding appliance and allow about 100 cm3 of brake fluid to drain out.
l  Operating pressure 2.0 bar
  Note
Ensure bleeder hose is correctly fitted during bleeding operation.
–  Close bleeder valve.
–  Depress clutch pedal several times after bleeding process is completed.
–  Repeat bleeding procedure if necessary.
–  Disconnect bleeder hose and fit protective cap.
–  If originally fitted, bolt heat shield for drive shaft (left-side) onto gearbox.
–  If originally fitted, install noise insulation beneath gearbox.
Tightening torques
  N30-0205
ComponentNm
Bleeder valve4.5
Heat shield for drive shaft to gearbox23


Exploded view - servicing clutch release mechanism > < Removing and installing clutch master cylinder