Note | t
| Before you re-install the SAC pressure plate check that it is not distorted → Fig.. |
| t
| When only the clutch plate is renewed, the adjuster ring in the SAC pressure plate has to be reset before assembly → Chapter. |
| l
| Installation position of clutch plate: coil springs (damper assembly) or marking “Getriebeseite” point towards pressure plate and gearbox. |
| –
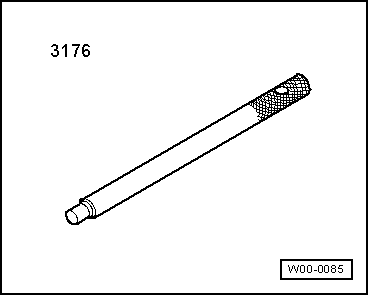
| Use centring mandrel -3176- to centralise clutch plate. |
| –
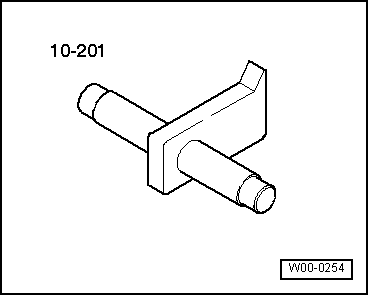
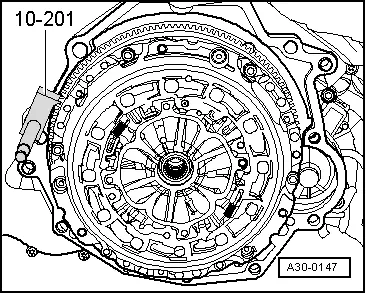
| Re-position counter-hold tool -10-201- to tighten bolts. |
| To prevent the pressure plate from becoming distorted during installation (causes clutch grab when driving off), always adhere to the following procedure when installing the pressure plate: |
| –
| Position pressure plate on dowel pins. |
| –
| Screw in all 6 bolts evenly by hand until bolt heads make contact with pressure plate. |
| –
| Tighten all six bolts consecutively in clockwise direction and in steps of 90° ( turn) until the housing makes contact with flywheel. |
| –
| Tighten all 6 bolts to final torque consecutively in clockwise direction. Tightening torque → Item |
|
|

|