Removing and installing charge air coolers (left and right)
Removing and installing charge air coolers (left and right)
Removing and installing charge air coolers (left and right)
Note
t
The following description shows the removal and installation of the left-side charge air cooler. The procedure for the right-side charge air cooler is the same.
t
Check all hoses and pipes for correct fitting and leakage before carrying out tests or repairs.
Removing
–
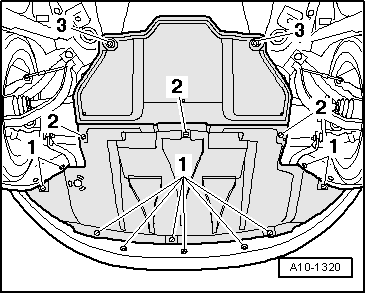
Vehicles with auxiliary heater: remove bolts -arrows- securing exhaust pipe for auxiliary/additional heater to noise insulation.
–
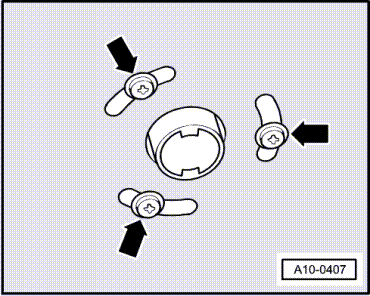
Release quick-release fasteners -1- and -2- and take off front noise insulation.
–
If fitted, open quick-release fasteners -3- and remove rear noise insulation.
 Note
Note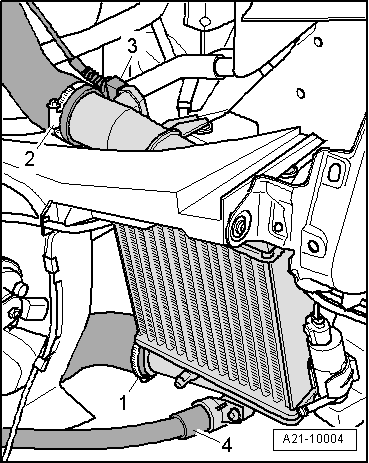

 WARNING