
A4 Mk2
|
 Caution
|
|
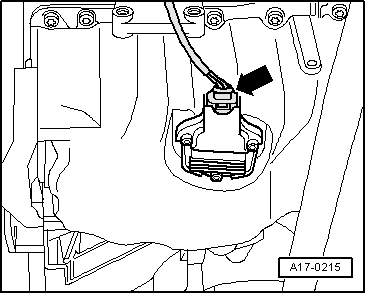
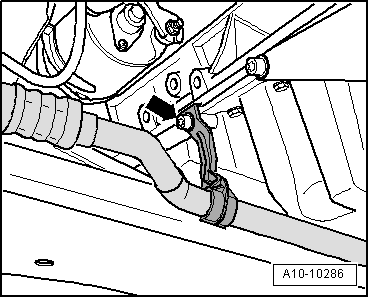
 Note
Note |
|
|
|
|
|
|
|
|
|
Note
|
|
 WARNING
|
|
|
|
Note
|
|
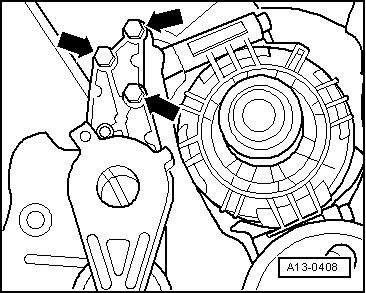
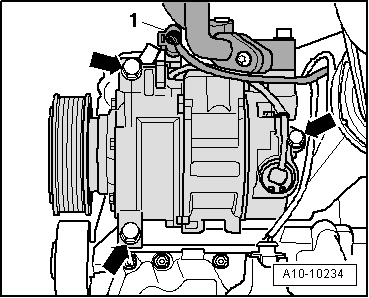
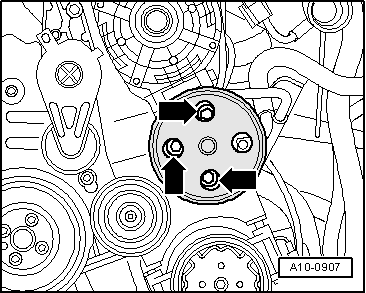
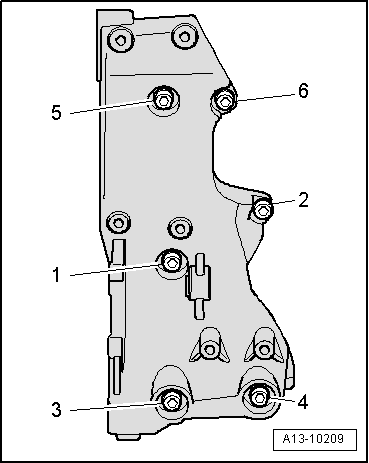
| Component | Nm |
| Idler wheel to bracket for ancillary units | 25 |
| Bracket for ancillaries to cylinder block | 40 → Note |
| Bracket for top section of intake manifold to bracket for ancillaries | 23 |
| Tensioner for poly V-belt to bracket for ancillaries | 23 |
|