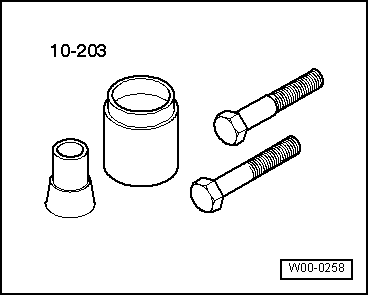
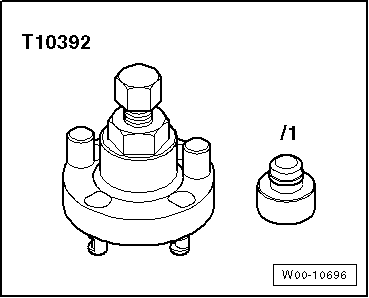
audi Workshop Repair Guides

Audi Workshop Service and Repair Manuals

Pistons and conrods > < Converting balance shaft assembly to spur gear drive
Pulling spur gear off crankshaft and shrink-fitting new spur gear
   
t  Hotplate (commercially available)
  N17-10172
t  Fitting tool -10 - 203-
  W00-0258
t  Puller -T10392-
t  Thrust piece -T10392/1-
t  Temperature gauge-VAS 6519-
–  Remove front sealing flange → Chapter.
–  Remove sump → Chapter.
  Note
It is sufficient to detach idler gear if balance shaft assembly does not need to be renewed.
–  Remove balance shaft assembly → Chapter.
Pulling off spur gear
  W00-10696
–  Insert thrust piece -T10392/1- in end of crankshaft.
  A17-10455
–  Insert puller -T10392- in holes in spur gear, turn clockwise -arrow- and screw in locking pins -A-.
  A17-10453
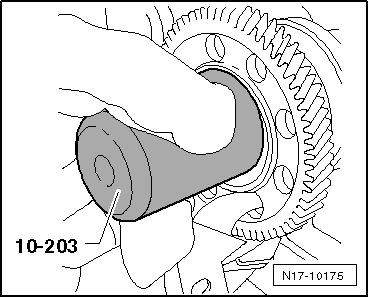
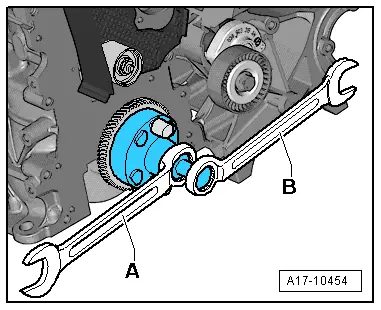
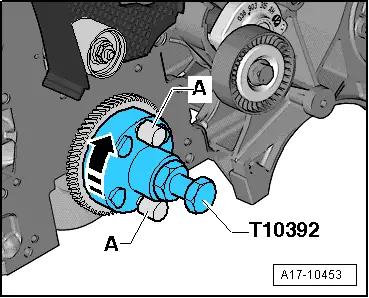
–  Counterhold crankshaft with ring spanner -A- and pull spur gear off end of crankshaft by screwing in spindle with ring spanner -B-.
Shrink-fitting spur gear
  Note
t  
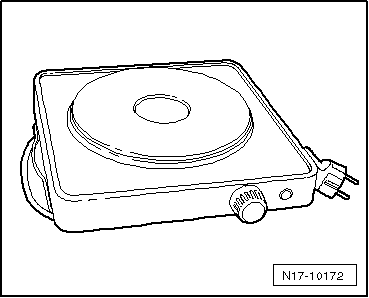
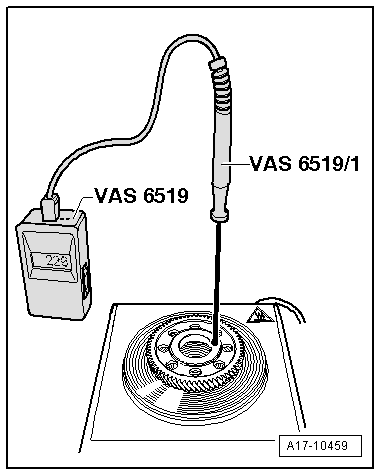
While heating up the new spur gear, monitor the temperature with the temperature gauge -VAS 6519-.
t  When the temperature reaches 200°C, you have approx. 4 seconds to fit the spur gear on the crankshaft.
t  A higher temperature increases the amount of time available (220°C = approx. 6 seconds).
t  
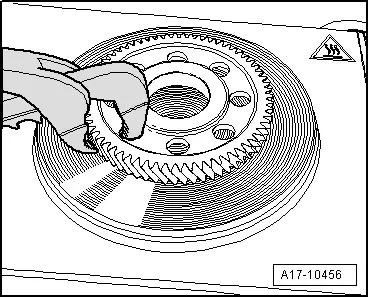
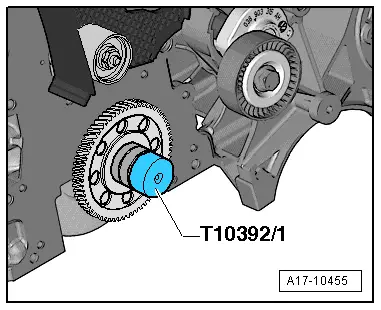
Make sure the end of the crankshaft is clean.
  Caution
Do not exceed a maximum temperature of 240°C; otherwise the spur gear can become discoloured and distorted.
  A17-10454
–  Place the new spur gear flat on a commercially available hotplate and heat it up to at least 200°C, but not more than 240°C. The lettering must face upwards.
–  Set temperature gauge -VAS 6519- to measuring range 2.
–  Position temperature sensor -VAS 6519/1- on collar of spur gear (as shown) and read off temperature at temperature gauge.
  WARNING
Risk of burns. Use suitable protective gloves for the following steps.
  A17-10459
–  When the required temperature has been reached, pick up the spur gear with pliers as illustrated.
  Note
Take care not to damage the teeth of the spur gear.
  A17-10456
–  With the aid of fitting tool -10 - 203-, slide spur gear by hand onto end of crankshaft as far as stop. This must be done without delay, taking care to keep the gear straight.
–  Wait a few minutes to allow the spur gear to cool down, and then install the balance shaft assembly.
→ Chapter „Installing a new balance shaft assembly“
→ Chapter „Re-installing the "old" balance shaft assembly“
  N17-10175

Pistons and conrods > < Converting balance shaft assembly to spur gear drive