
A4 Mk2
| Renewing camshaft oil seals |

| Special tools and workshop equipment required |
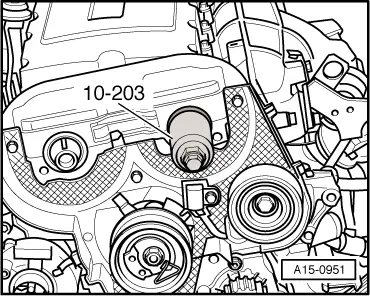
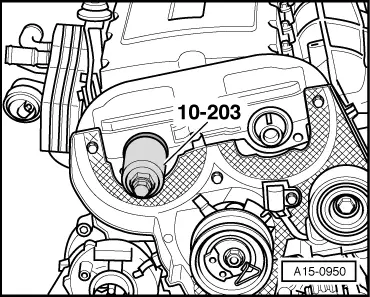
| t | Fitting tool -10-203- |
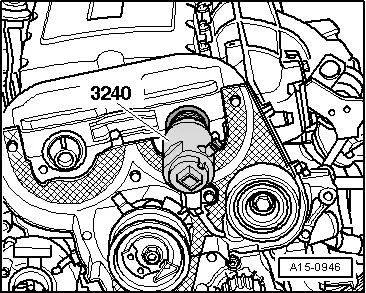
| t | Oil seal extractor -3240- |
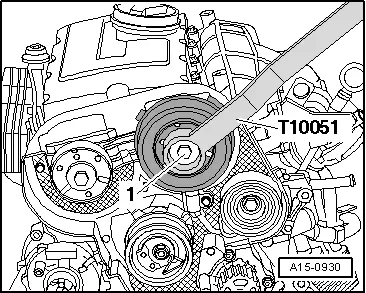
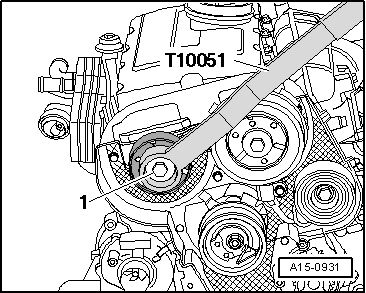
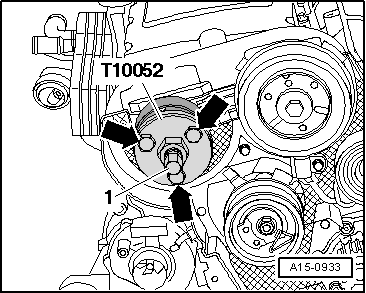
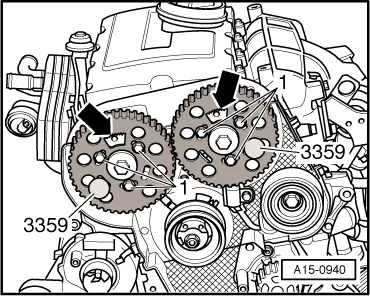
| t | Counterhold tool -T10051- |
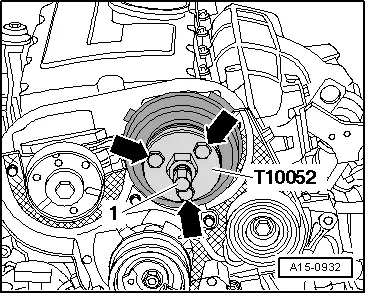
| t | Puller -T10052- |
| t | Bolt M12x60 |
|
|
|
|
|
|
|
|
|
|
|
|
|
 Note
Note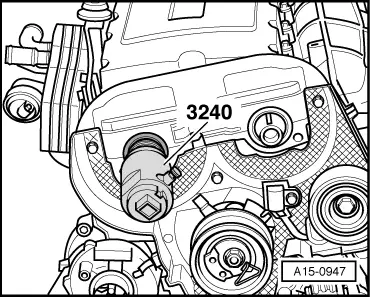
|
|
|
|
|
|
|
|
|
|
|

|
| Component | Nm |
| Stop for torque reaction support to lock carrier | 28 |
| Hose clips (9 mm wide) | 3 |
| Hose clips (13 mm wide) | 5.5 |