audi Workshop Repair Guides

Audi Workshop Service and Repair Manuals

Removing and installing tensioner for poly V-belt > < Poly V-belt drive - exploded view
Removing and installing poly V-belt
Special tools and workshop equipment required
   
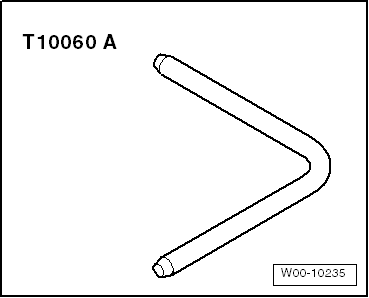
t  Locking pin -T10060 A-
  W00-10235
Removing
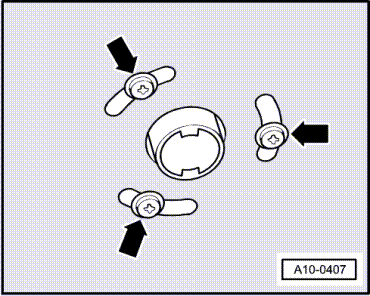
–  Vehicles with auxiliary heater: remove bolts -arrows- securing exhaust pipe for auxiliary/additional heater to noise insulation.
  A10-0407
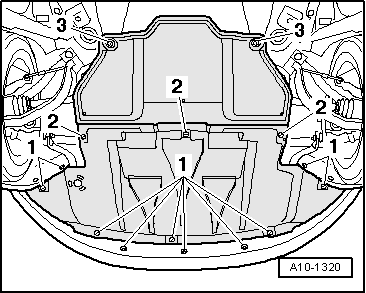
–  Open quick-release fasteners -1 … 3- and take off front and rear noise insulation.
  A10-1320
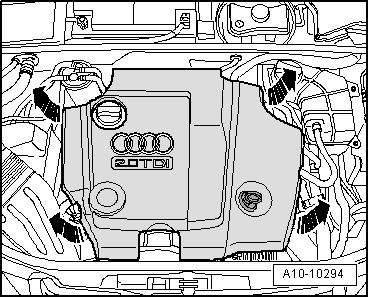
–  Pull off engine cover panel -arrows-.
  A10-10294
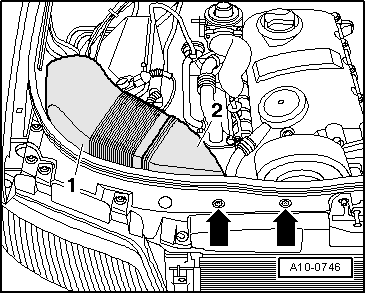
–  Remove bolts -arrows-.
–  Remove air ducts -1- and -2-.
–  Pull off bonnet seal at lock carrier.
  A10-0746
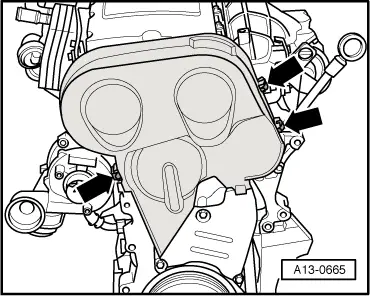
–  Remove top toothed belt cover by releasing retaining clips -arrows-.
  Note
Before removing, mark direction of rotation of poly V-belt with chalk or felt-tipped pen. If the belt runs in the opposite direction when it is refitted, this can cause breakage.
  A13-0665
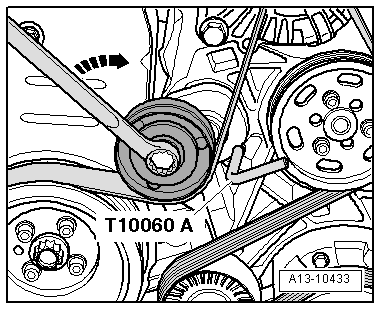
–  Turn tensioner in -direction of arrow- and lock with locking pin -T10060 A- to slacken the poly V-belt.
–  Remove poly V-belt.
  A13-10433
Installing
Installation is carried out in the reverse order; note the following:
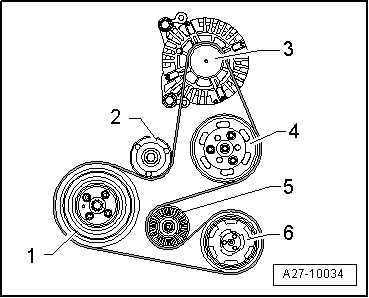
–  Fit poly V-belt on all belt pulleys.
1 - Vibration damper
2 - Tensioner
3 - Alternator
4 - Power steering pump
5 - Idler roller
6 - Air conditioner compressor
–  Hold tensioner with ring spanner, pull out locking pin -T10060 A- and release pressure from tensioner.
–  Check poly V-belt for proper seating.
–  Start engine and check that belt runs properly.
  A27-10034

Removing and installing tensioner for poly V-belt > < Poly V-belt drive - exploded view