audi Workshop Repair Guides

Audi Workshop Service and Repair Manuals

Stress-free alignment of exhaust system > < Removing and installing front exhaust pipe
Removing and installing front exhaust pipe with catalytic converter
   
Removing
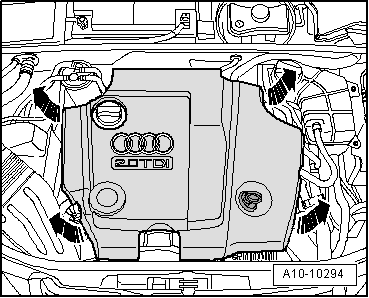
–  Pull off engine cover panel -arrows-.
  A10-10294
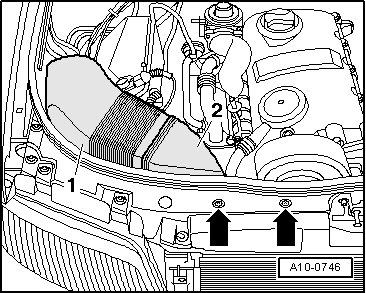
–  Remove bolts -arrows-.
–  Remove air ducts -1- and -2-.
  A10-0746
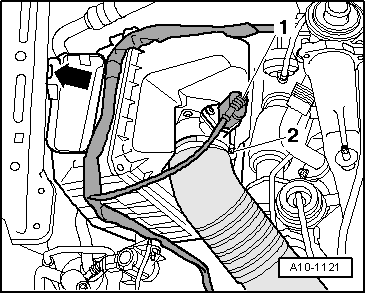
–  Unplug electrical connector -1- at air mass meter -G70-.
–  Loosen hose clip -2- to remove air intake hose.
–  Move clear wiring harness at air cleaner housing and remove air cleaner housing -arrow-.
  A10-1121
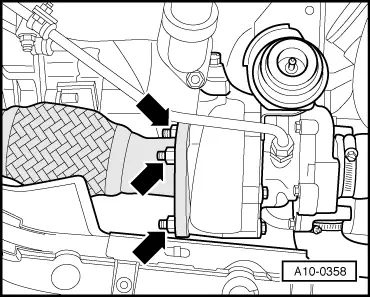
–  Unscrew nuts on turbocharger -arrows-.
  A10-0358
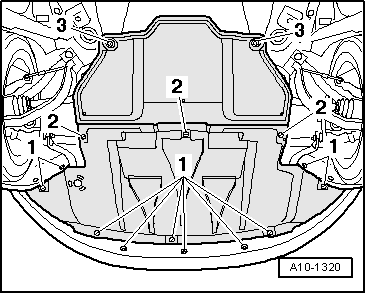
–  Open quick-release fasteners -1 … 3- and take off front and rear noise insulation.
  A10-1320
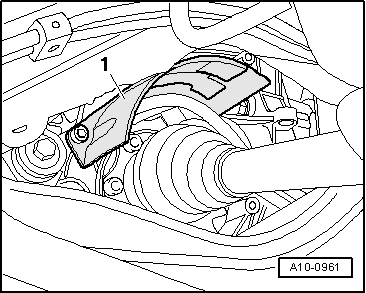
–  Unbolt heat shield -1- for drive shaft (right-side).
  Note
  A10-0961
To avoid any damage, the flexible joint in the front exhaust pipe must not be bent more than 10°.
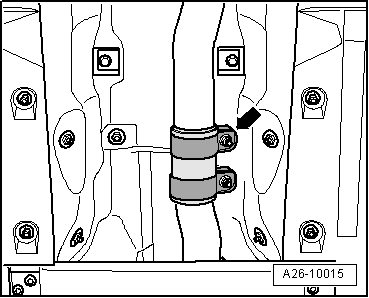
–  Disconnect exhaust system at clamp -arrow-.
–  Detach front exhaust pipe with catalytic converter.
Installing
Installation is carried out in the reverse order; note the following:
  Note
t  Renew gaskets and self-locking nuts.
t  Hose connections and hoses for charge air system must be free of oil and grease before assembly.
t  Secure all hose connections with the correct type of hose clips (same as original equipment) → Electronic parts catalogue.
t  To ensure that the charge air hoses can be properly secured at their connections, spray rust remover onto the worm thread of used hose clips before installing.
–  Align exhaust system so it is free of stress → Chapter.
Tightening torques
  A26-10015
ComponentNm
Catalytic converter to front exhaust pipe25 1)
Catalytic converter to turbocharger27 1)2)
Drive shaft heat shield to gearbox23
l  1) Renew nuts.
l  2) Coat with high-temperature paste; for high-temperature paste refer to → Electronic parts catalogue


Stress-free alignment of exhaust system > < Removing and installing front exhaust pipe