
A4 Mk2
|
|
|
|
|
|
|
|
|
|
|
 Note
Note |
|
|
|
Note
|
|
 WARNING
|
|
Note
Note
|
|
| Component | Nm |
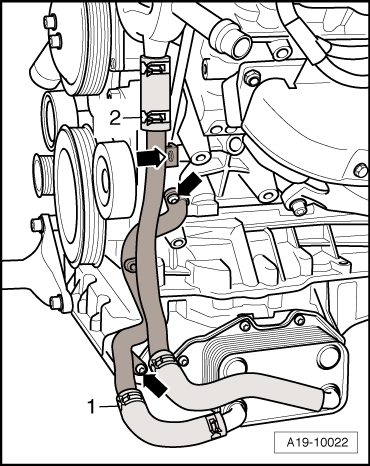
| Coolant pipes to engine | 9 |
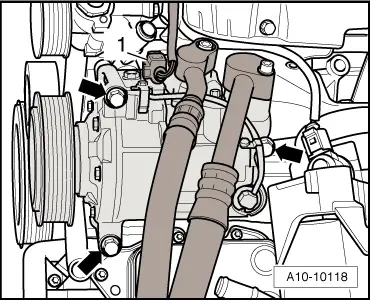
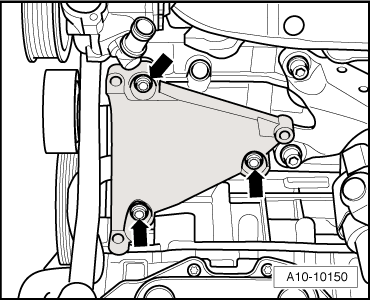
| Bracket for air conditioner compressor to cylinder block | 20 |