
A4 Mk2
|
|
|
|
|
|
|
 Note
Note |
|
|
|
|
|
Note
|
|
Note
|

|
 WARNING
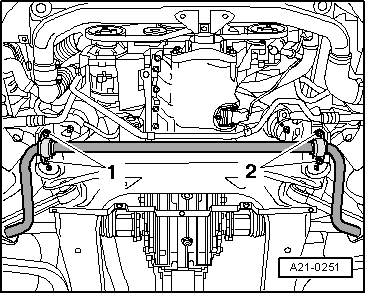
|
|
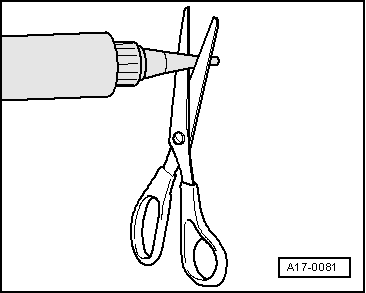
Note
|
|
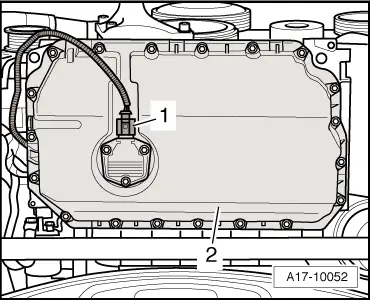
| Component | Nm | ||||||
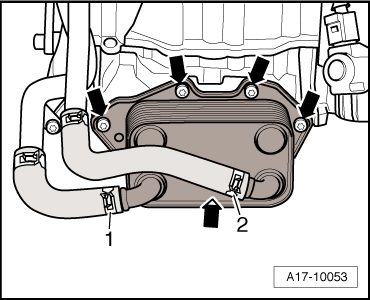
| Oil cooler to sump (top section) | 9 | ||||||
| Sump (bottom section), aluminium version to sump (top section) | 9 1) | ||||||
| Sump (bottom section), sheet-metal version to sump (top section) | 5 + 90° 1)2)3) | ||||||
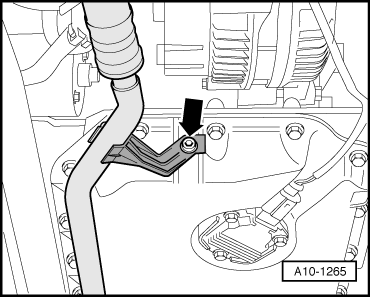
| Bracket to sump | 9 | ||||||
| Oil drain plug | 30 | ||||||
| |||||||