
A4 Mk2
|
 Note
Note
|
|
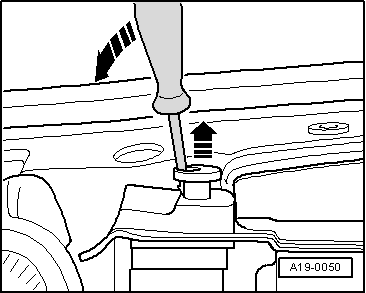
 WARNING
|

|
Note
|
|
|
|
|
|
|
|
|
|
|
|
|
|
|
|
|
|
|
|
|
|
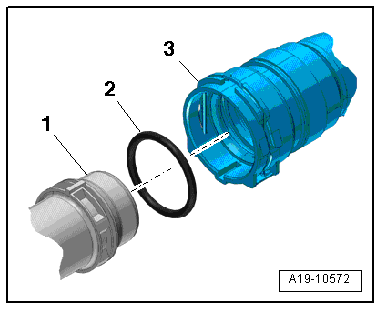
Note
|
|
|
|
Note
|
|
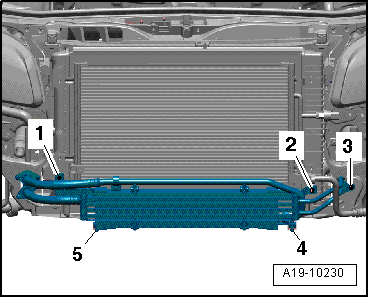
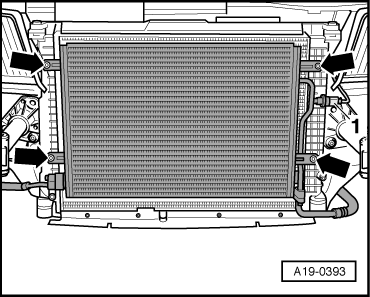
| Component | Nm |
| Condenser to radiator | 9 |
| Engine oil cooler to lock carrier | 9 |
| Power steering cooler to lock carrier | 9 |