
A4 Mk2
|
|
|
 Note
Note
|
|
|
|
 WARNING
 Caution
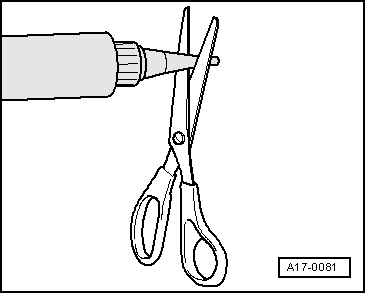
Note
|

|
Note |
|
|
|
|
|
|
|
Note
|
|
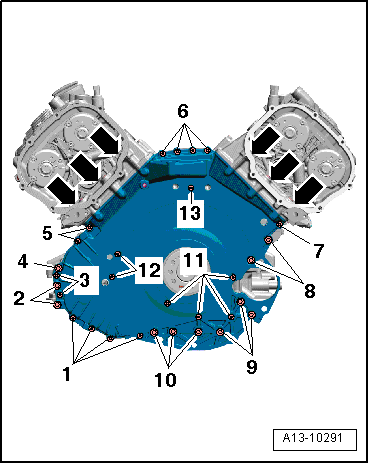
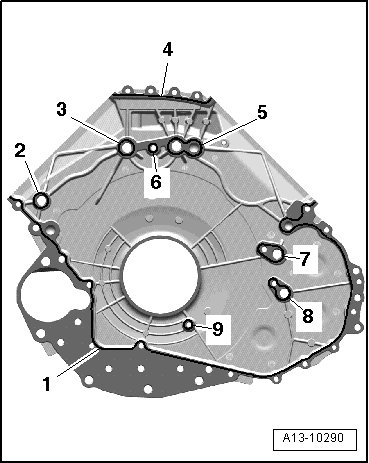
| Stage | Bolts | Tightening torque/tightening angle |
| 1. | -arrows- | 5 Nm |
| 2. | -1 … 13- | 8 Nm in diagonal sequence |
| 3. | -arrows- | 11 Nm |
| 4. | -2, 4, 8, 9, 10- | 22 Nm |
| 5. | -1, 3, 5, 6, 7, 11, 12, 13- | Turn 90° further in diagonal sequence |
| 6. | -arrows- | turn 90° further |
|