A4 Mk2
 Note
Note
|
|
|
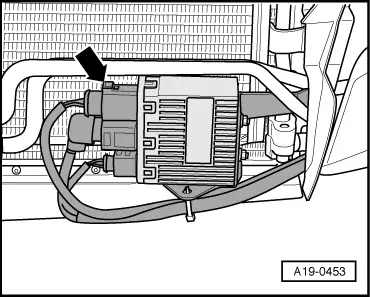
Note
|
|
|
|
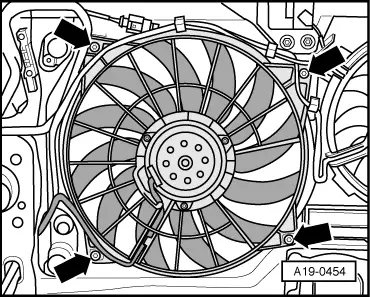
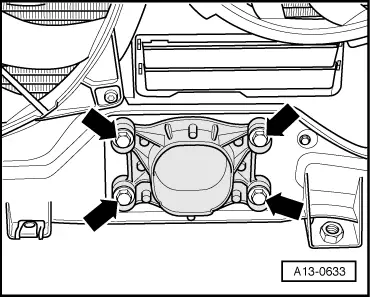
| Component | Nm |
| Radiator fan to lock carrier | 10 |
| Stop for torque reaction support to lock carrier | 28 |

Note
|
|
|
Note
|
|
|
|
| Component | Nm |
| Radiator fan to lock carrier | 10 |
| Stop for torque reaction support to lock carrier | 28 |