| –
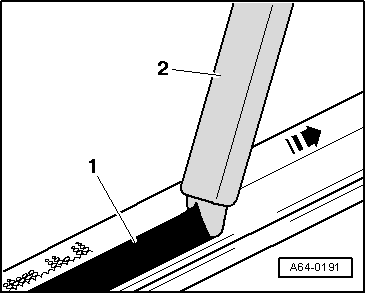
| Apply full surface of nozzle -2- to window. |
| l
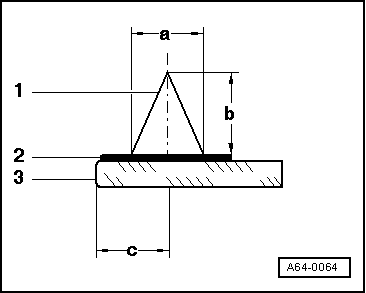
| Direction of application -arrow- for adhesive bead -1-. |
| –
| Apply adhesive sealant all round next to moulding. |
| –
| When reinstalling an undamaged window, apply adhesive to remaining adhesive bead. |

Note | Use 1-component window adhesive -DH 009 100 03- (small cartridge). If more than one window/glass has to be bonded, 2-component window adhesive set -D 004 660 M2- can also be used. |
| –
| When installing a new window, first insert window with locating pin on C-pillar and D-pillar, then press into window opening. |
| If a removed side window is to be reinstalled, it must be fixed in position with adhesive tape at the C-pillar and D-pillar. |
|
|
|
 Caution
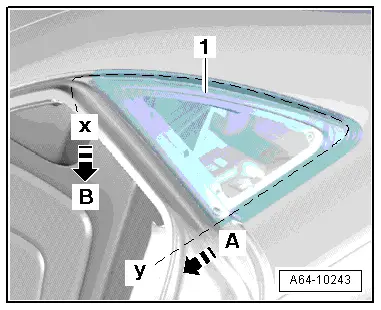
 WARNING