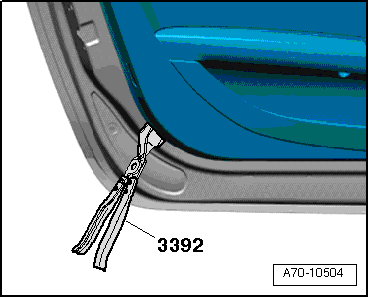
Starting in bottom rear corner, use removal pliers -3392- to unclip door trim from door. To do so, insert removal pliers between door trim and door in area of retaining clips.
l
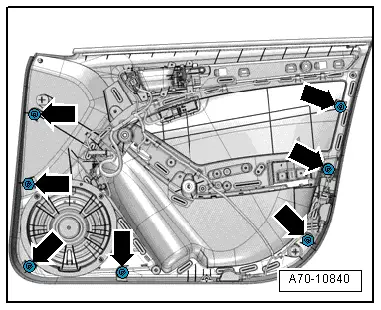
Position of retaining clips -arrows-
–
Disengage door trim from door at top of window slot. To do so, pull door trim upwards.
–
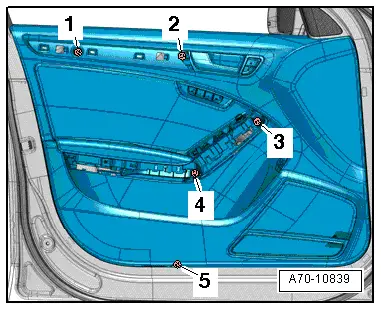
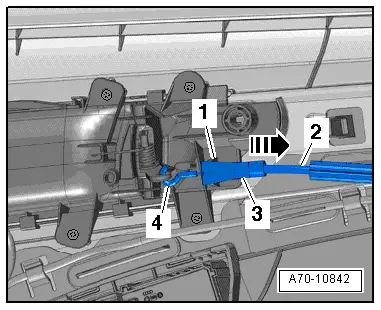
Carefully disengage catch -3- at cable support bracket -1-.
–
Pull Bowden cable -2- for interior door handle out of cable support bracket in direction of -arrow-.
–
Disengage end of cable -4- at interior door handle.
–
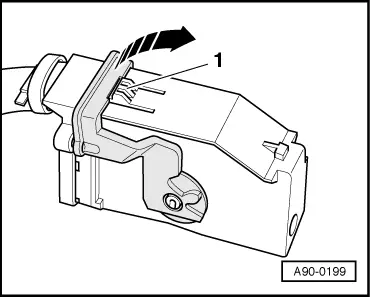
To unplug electrical connector, press catch -1-, turn retaining bracket in direction of -arrow- and unplug connector.
–
Detach door trim.
Installing
–
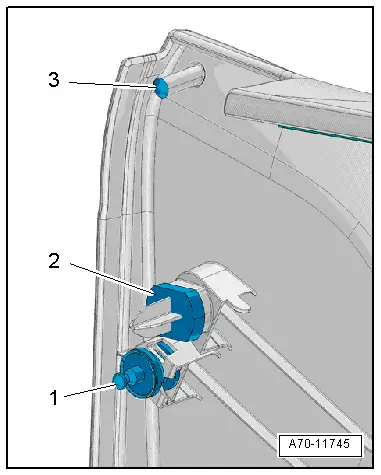
Check that rubber buffers -3- and seals -2- are fitted in door trim.
–
Check that all retaining clips -1- are fitted in door trim.
WARNING
t
Make sure that the door is properly sealed when it is installed; otherwise the crash sensor (pressure sensor) may not function correctly.
t
The retaining clips -arrows- for the door trim provide a seal for the system. If necessary, renew retaining clips for door trim.
–
Engage end of cable -4- in lever of interior door handle.
l
Open side of eyelet at end of cable must face upwards.
–
Pull Bowden cable -2- for interior door handle in direction of -arrow- and insert it in cable support bracket -1-.
l
Catch -3- must engage audibly in cable support bracket.
–
Plug in electrical connector at door control unit.
–
Position door trim at window slot and press on downwards.
–
Carefully position clips for door trim on door and press door trim onto door until it engages audibly at anchorage points.
Perform remaining installation in reverse order of removal.
 Note
Note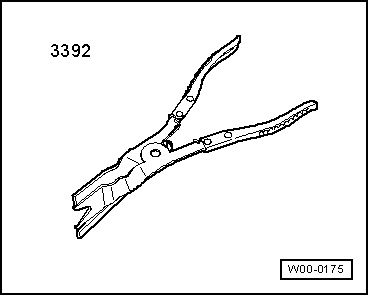
 WARNING