Audi Workshop Service and Repair Manuals
HOME
FEATURES
MENU
INDEX
ABOUT US
Clutch, clutch release mechanism >
< Exploded view - clutch module
A4 Mk3
Power transmission
6-speed manual gearbox 0B1, front-wheel drive
Clutch, control
Exploded view - clutch module
Tightening sequence - clutch module to drive plate (vehicles with 4-cylinder engine)
Tightening sequence - clutch module to drive plate (vehicles with 4-cylinder engine)
Tightening sequence - clutch module to drive plate (vehicles with 4-cylinder engine)
Special tools and workshop equipment required
t
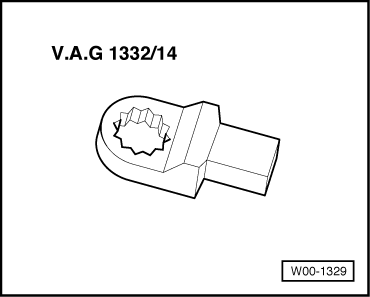
Ring spanner insert, 16 mm -V.A.G 1332/14-
l
Use new bolts.
l
Tightening torque
→ Item
l
Tighten bolts using ring spanner insert, 16 mm -V.A.G 1332/14-.
–
Engage 6th gear by pulling out selector shaft
-1-
and shifting gearbox selector lever
-2-
forwards in direction of
-arrow-
.
Note
The following step is essential to ensure that the clutch module makes even and proper contact on the drive plate and does not cant.
–
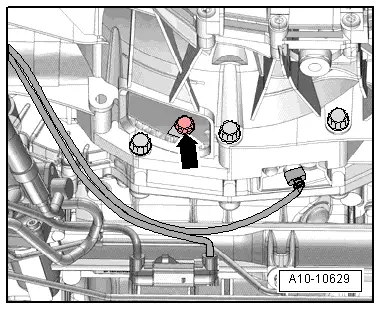
Turn both front wheels together in one direction until the clutch module has turned through one complete revolution (360°).
l
The inspection hole
-arrow-
should be visible again in the recess on the gearbox housing.
–
Install first bolt
-arrow-
and tighten hand-tight (2 Nm).
–
Turn both front wheels so that clutch module turns 120° further in direction of engine rotation and install second bolt hand-tight (2 Nm).
–
Turn clutch module 120° further in direction of engine rotation.
–
Now install third bolt and tighten to specified torque
→ Item
.
–
Now tighten the remaining two bolts to specified torque.
Power transmission
6-speed manual gearbox 0B1, front-wheel drive
Clutch, control
Exploded view - clutch module
Tightening sequence - clutch module to drive plate (vehicles with 4-cylinder engine)
Clutch, clutch release mechanism >
< Exploded view - clutch module
 Note
Note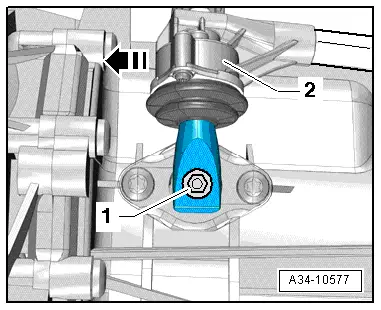

 Note
Note