audi Workshop Repair Guides

Audi Workshop Service and Repair Manuals

Checking preload of ball bearing for flange shaft (left-side) - vehicles with vehicle ID No. up to 8K0BA088680 or 8FXBN009589: > < Removing and installing flange shaft (right-side)
Removing and installing flange shaft (left-side)
Special tools and workshop equipment required
   
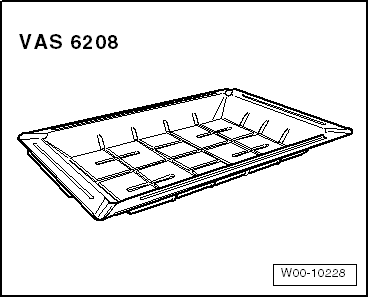
t  Drip tray for workshop hoist -VAS 6208-
  W00-10228
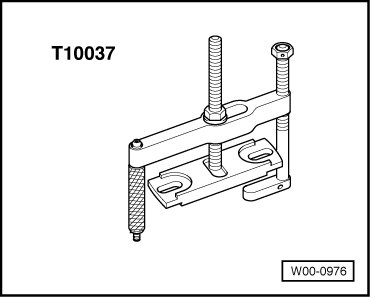
t  Puller -T10037-
  W00-0976
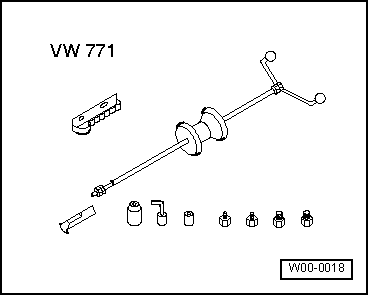
t  Multi-purpose tool -VW 771/1-
t  Sealing grease -G 052 128 A1-
  W00-0018
Removing
l  Gearbox removed
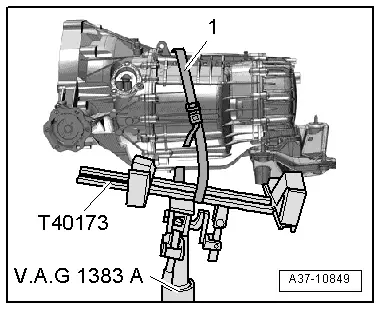
l  Gearbox is secured to gearbox support -T40173- with tensioning strap -1-.
–  Tilt gearbox to rear with gearbox support -T40173- to prevent gear oil from escaping.
  A37-10849
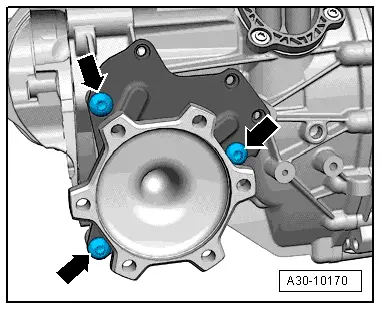
–  Unscrew bolts -arrows- on mounting bracket for flange shaft (left-side).
  Caution
Risk of damage to oil seal.
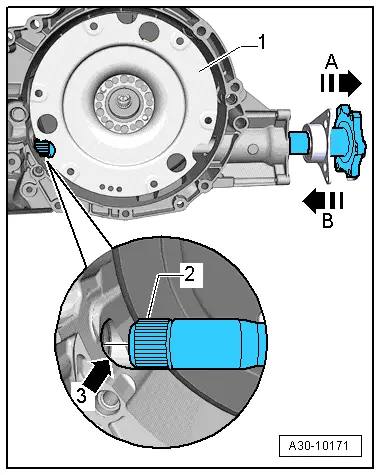
t  If you do not keep the shaft centered when pulling it out further, the splines of the shaft -2- will fall against the inner oil seal -arrow 3- between the differential and the gearbox housing.
t  If oil seal is damaged, it must be renewed → Chapter.
  A30-10170
–  Remove flange shaft (left-side) from gearbox in direction of -arrow A-.
  Note
  A30-10171
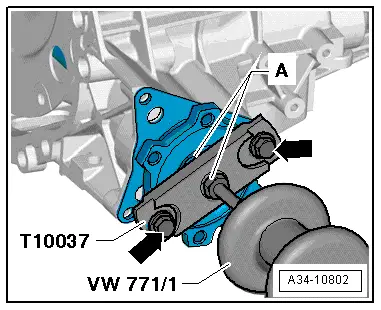
t  If the flange shaft (left-side) cannot be removed by hand, pull it out carefully using multi-purpose tool -VW 771-.
t  To do this, secure plate of puller -T10037- to flange shaft -arrows- and attach plate to spindle of multi-purpose tool -VW 771- (nuts -A-).
  A34-10802
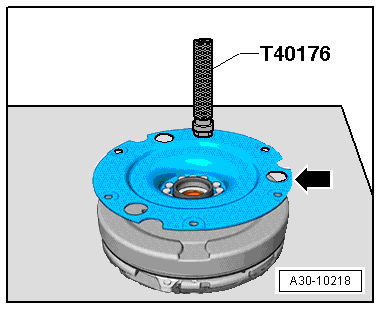
–  Remove clutch module → Chapter.
  A30-10218
Installing flange shaft (left-side)
Installation is carried out in reverse sequence; note the following:
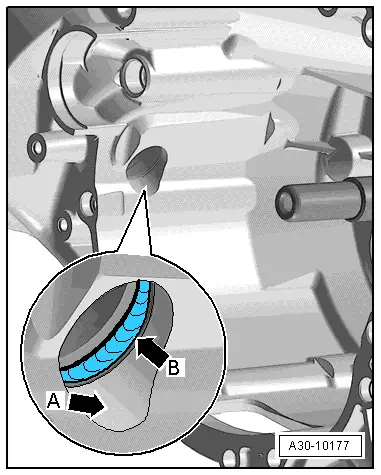
–  Thoroughly clean area of gearbox housing leading to differential -arrow A-, and oil seal -arrow B-.
  Note
If oil seal for flange shaft (left-side) between differential and gearbox housing -arrow B- is damaged, it must be renewed → Chapter.
–  Pack space between sealing lip and dust lip half-full with sealing grease -G 052 128 A1-.
  A30-10177
–  Thoroughly clean flange shaft (left-side).
Vehicles with vehicle ID No. up to 8K0BA088680 or 8FXBN009589:
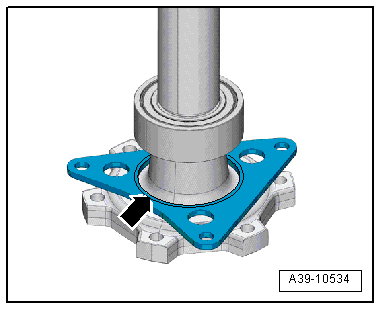
–  Check preload of ball bearing for flange shaft (left-side) according to wear pattern on bearing plate -arrow- → Chapter.
t  Depending on wear pattern, optimise preload of ball bearing for flange shaft (left-side) as required → Chapter.
t  Depending on wear pattern, adjust preload of ball bearing for flange shaft (left-side) as required → Chapter.
  A39-10534
Continued for all vehicles:
–  Install clutch module -1- → Chapter.
–  Turn clutch module -1- so that you can see opening to differential -arrow 3-.
–  Slide flange-shaft (left-side) -2- into gearbox in direction of -arrow B- (keep end of shaft centered while guiding it into oil seal on front final drive -arrow 3-).
  Caution
Risk of damage to oil seal.
t  If you do not keep the shaft centered, the splines of the shaft -2- will damage the oil seal -arrow 3- between the differential and the gearbox housing.
t  If oil seal is damaged, it must be renewed → Chapter.
–  Re-fit and tighten plug -arrow-. Tightening torque → Item
  A30-10171
–  Tighten flange shaft mounting bracket -arrows-. Tightening torque → Item
  A30-10170
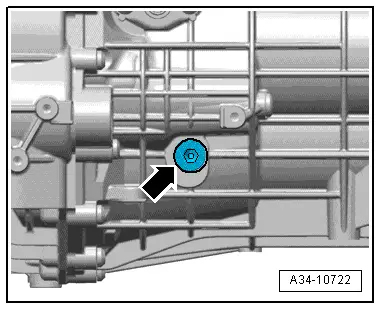
–  After installing gearbox, unscrew oil filler plug -arrow-, fill up gear oil in gearbox and check oil level → 6-speed manual gearbox 0B1, front-wheel drive; Rep. gr.34.
  A34-10722

Checking preload of ball bearing for flange shaft (left-side) - vehicles with vehicle ID No. up to 8K0BA088680 or 8FXBN009589: > < Removing and installing flange shaft (right-side)